
During the long winter months, it's not unusual to feel gray and glum... so an obvious cure to the winter blues is crafting! Soap making is one of the most customizable activities a beginning crafter can tackle... so many options and so much to learn! One of the easiest methods of soap making is using melt-and-pour bases, which cuts out the need to handle tricky ingredients like lye.
A great way to spiff up your melt-and-pour bases is by adding essential oils and dried herbs! They have wonderful health benefits, and will fill your shower or kitchen with refreshing or soothing scents that will either get you going in the morning, or help you sleep better at night. A lot of gardeners like to bring their fresh herb plants inside for the winter, so you can also use clippings of your favorites herbs that you've air dried, or dried in a dehydrator. Check out this blog post on keeping an indoor herb garden!
Lavender is by far one of the most popular dried herbs used in soap making. It's known for its clean, gentle scent, and it's antibacterial properties. It is also used to aide in sleeping, as well as relaxation.
Calendula is an incredible astringent that will aide in abating rashes, scrapes, burns, bee stings, and other skin irritation issues. Unlike a lot of other herbs that tend to turn brown with age, Calendula holds it's yellow color well.
Rosemary is antibacterial, antifungal, and antiviral. It is loaded with antioxidants, as well as has a pleasant spicy, piney scent. Dried rosemary stems can be a little rough, so if you're using the whole stem it's best used as hand soap.
Mint has excellent healing and soothing qualities. It aides in calming irritated skin, as well as relieves some symptoms of acne. Mint is also anti-inflammatory. We do not offer pre-packaged dried mint, but the seed is easy to grow from and the resulting plants dry very well.
Chamomile has a gentle, pleasant scent that is easily recognizable. Known for its calming, anti-inflammatory properties; it also helps resolve skin disorders such as acne, rashes, psoriasis, and eczema.
Arnica is a great, nourishing additive that is in the sunflower family. Often grown for its medical properties to treat skin irregularities and inflammation, arnica flowers are skin-loving (but not intended for use on the face).
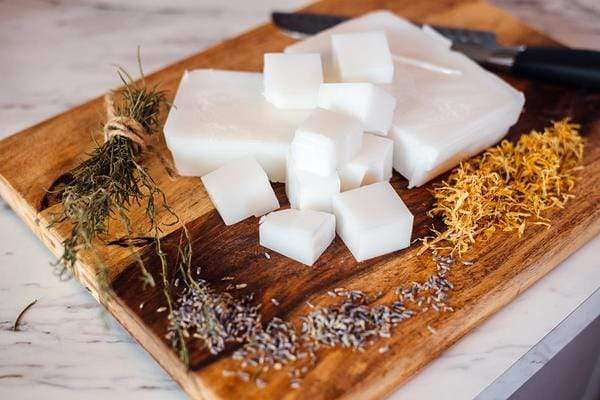
Start by selecting your dried herbs, soap base and essential oils. What scents would you like paired together? I used tea tree essential oil with dried rosemary (I used clippings from my own rosemary plant that I dried), and lavender essential oil with lavender buds; both with a three butter base, that combines shea, cocoa, and mango butters
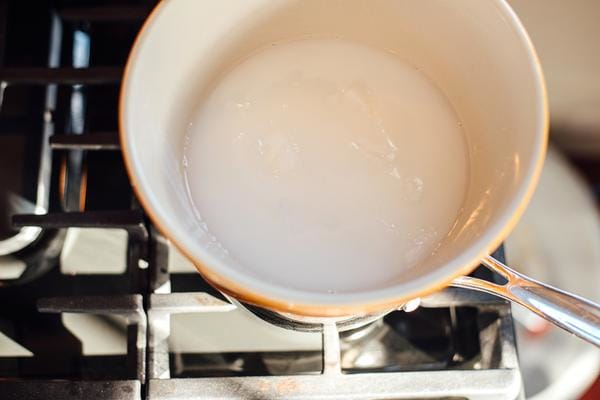
Chop your desired amount of soap base into small cubes and melt them in a double boiler. When your soap base is completely melted, add in your desired essential oils.
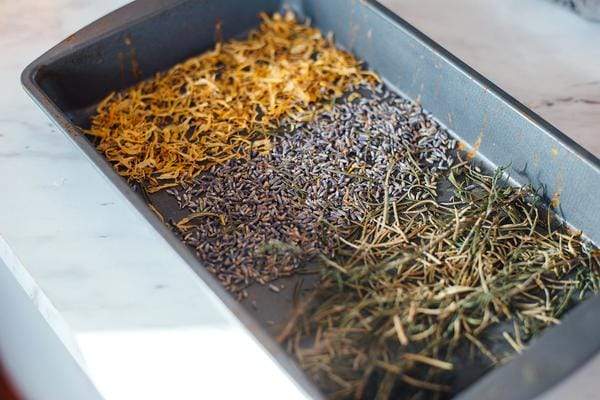
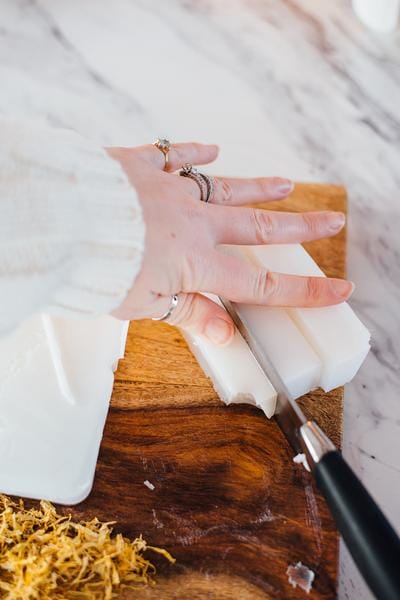
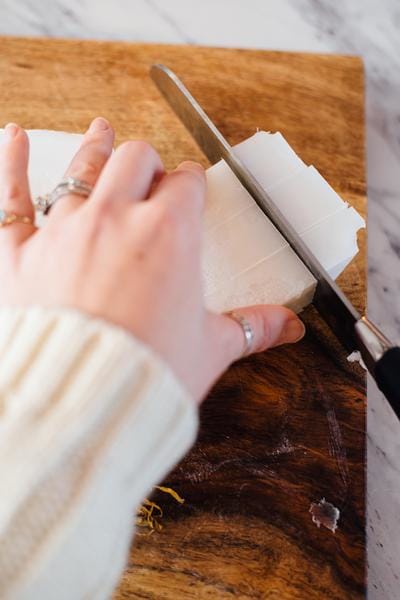
Choose your dried herbs and sprinkle them into the bottom of your soap mold. I decided to do one large bar and chop it into smaller bars.
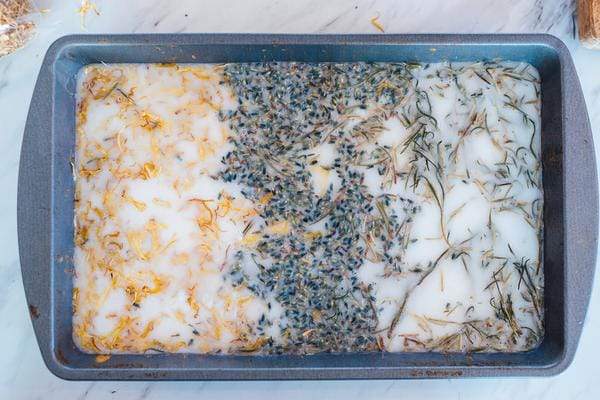
Carefully pour the completely melted soap base on top of your herbs. I poured very slowly and was able to preserve the different sections of herbs. For this multi-sectioned setup, I added a few drops (2-3) of essential oil to each different strip of herbs after pouring in the melted soap, and gently swirled it in with a toothpick. The soap base will start to cool very quickly, so try and move as fast as you can.
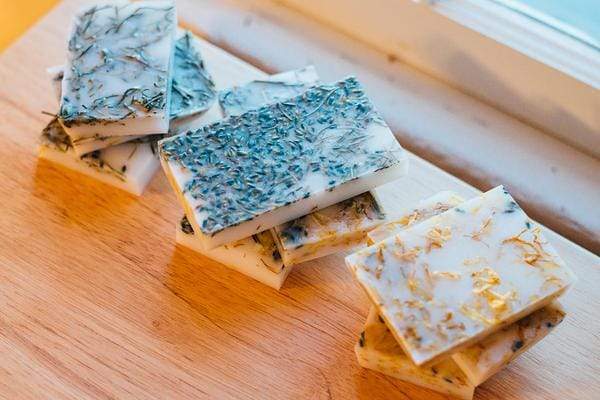
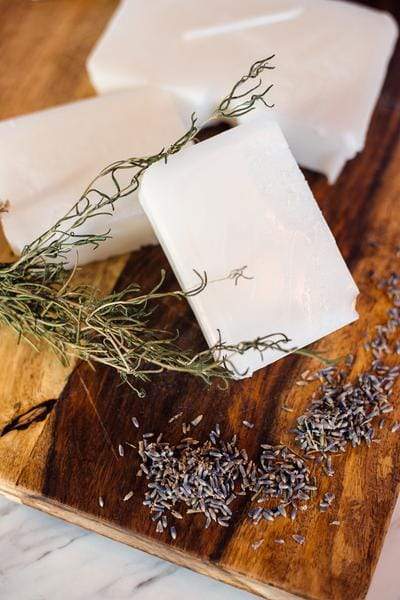
Allow your soap to cool completely before trying to remove from your mold. I let this soap cool for several hours, and it popped out of the mold with no trouble at all.
The dried herbs now serve as an exfoliator of sorts, and look pretty to boot! What are your favorite melt-and-pour soap projects?