"Microgreens" is an umbrella term for a variety of leafy greens that are harvested in a very early stage of their growing cycle. This stage is called the "cotyledon growth stage" and is where the plants first set of true leaves sprout. Microgreens can be harvested as early as 14 days of growth! This is what makes them so appealing to the young, old, seasoned, and beginner gardeners alike. Common types of microgreens are as follows: kale, arugula, beet greens, onions, radish greens, dandelion greens, spinach, mustard, chard, bok choy, watercress, and herbs such as cilantro, basil, chervil, parsley, and chives.
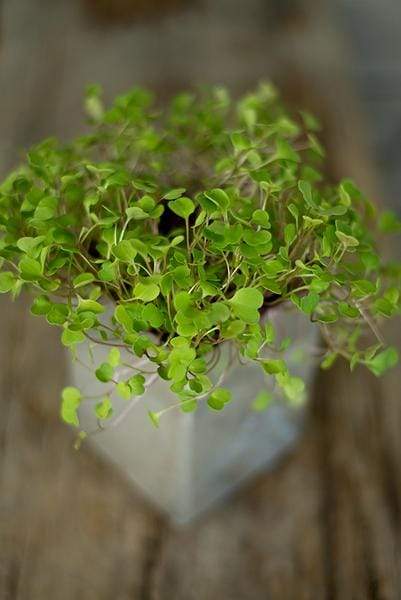 Many people insist that the taste of the microgreens is a very strong and concentrated flavor, much stronger than the mature plant's flavor would be. The nutritional value of microgreens is exceptional as well and is likened to that of sprouts, but the two are not to be confused. Microgreens differ from sprouts in that sprouts are grown using only water and microgreens are grown with soil. The microgreens absorb nutrients from the soil as they grow, increasing their nutritional value. Also, since they undergo more photosynthesis than sprouts, they acquire more nutrients this way as well.
The nutritional and health benefits vary from green to green. Leafy greens are rich with beta-carotene, iron, and calcium. Darker leaved greens, like kale and chard, are additionally high in lutein and zeaxanthin, which both help protect your eyes from degenerative conditions. Even though the greens are small, they pack quite the nutritional punch, giving full meaning to the saying "a little goes a long way".
Because microgreens require only minimal sunlight and growing space, they are ideal to grow in a container on your kitchen windowsill for easy access. Since you are able to control the growing environment by planting the seeds yourself, you can choose to use fully organic growing methods.
Step by Step Instructions for Growing Microgreens
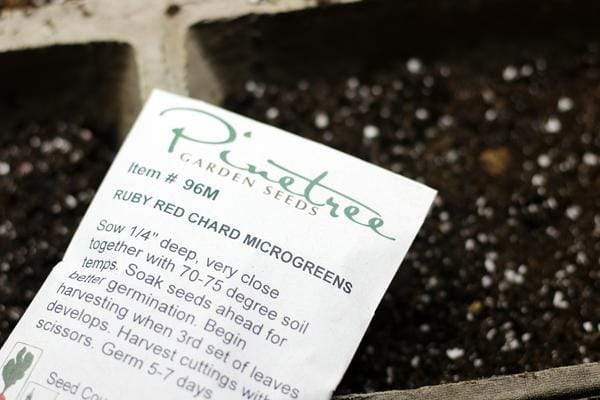
1. Select a shallow container with drainage.
We used fiber packs, which are a peat material. The size of the container should directly reflect how much you want to grow. Fill the container with 1.5"-2" of moistened potting mix or seedling mix. Press the layer of soil down gently to create a flat, even surface.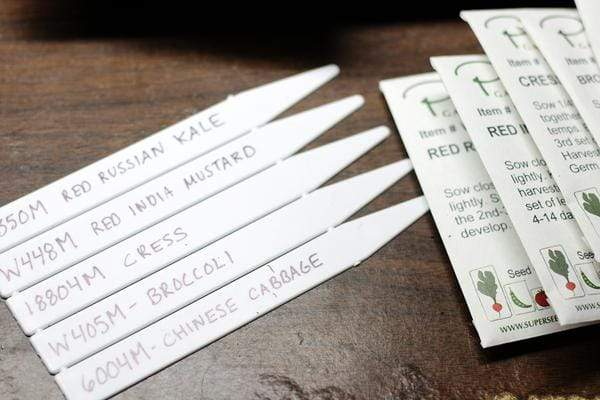
2. Select a microgreen seed that interests you.
Whether it be a mix or a singular type of green. The Pinetree Kitchen Sink Mix and Healthy Blend Mix are popular with our customers, and we offer a number of single green packs such as Arugula, Cabbage, Celery, Cilantro, Beets, Basil, Broccoli, Kale, Sorrel, and more. Scatter the seeds over the surface of the soil before lightly pressing them down.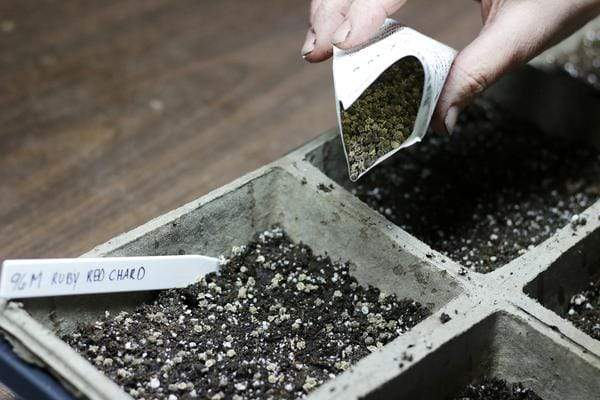
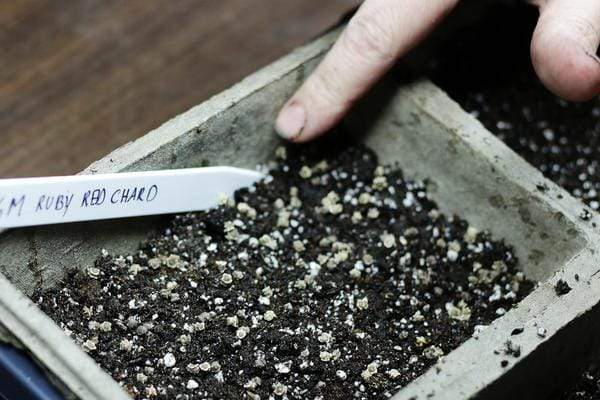
3. Sift or sprinkle a very fine layer (1/8") of soil over the seeds.
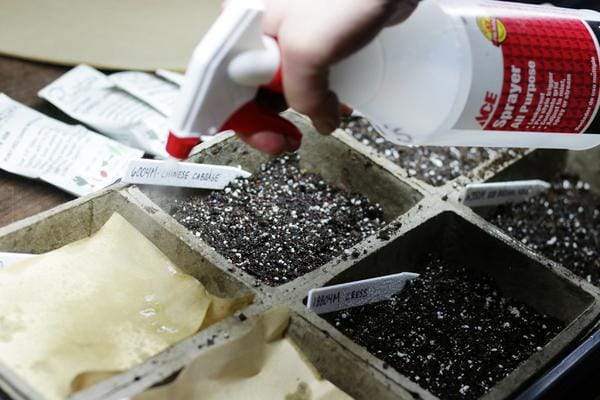
We use germination paper (see photo). Make sure you have a drip tray under your container before watering the seeds as gently as possible. We used a sprayer to mist them. Place the tray on a sunny, south-facing window or under a grow light. The seeds will germinate within 3-7 days. Cover with a propagation dome or similar cover.
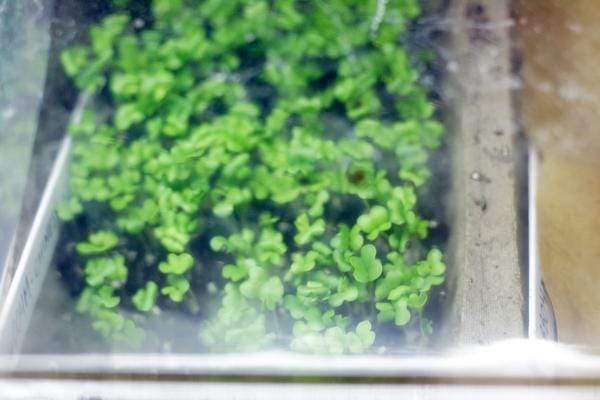
4. Keep the soil constantly moist.
Prevent it from being soggy by pouring off any excess water that collects in the drip tray. To harvest, snip the microgreens right above the soil line when their first true leaves appear (about 7-14 days after germination).
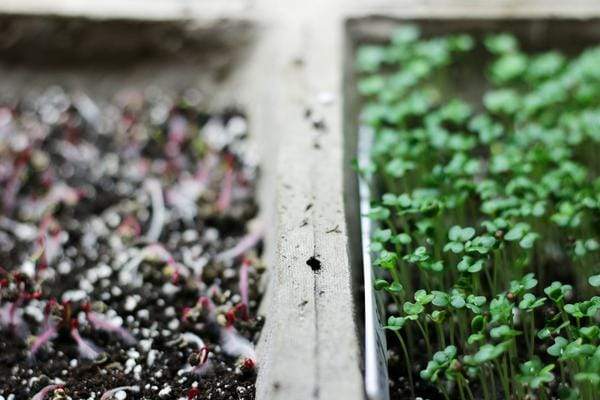
5. Harvesting your microgreens.
After harvest, it is time to start a new crop if you wish to have more greens. Harvesting them at such a young stage prevents them from producing a second crop on their own. The good news is that as long as you didn't have any issues with pests or diseases, you can reuse the soil. Simply pull up the remaining roots and stems and till the soil gently with a fork. Add more soil if needed and start the process over.
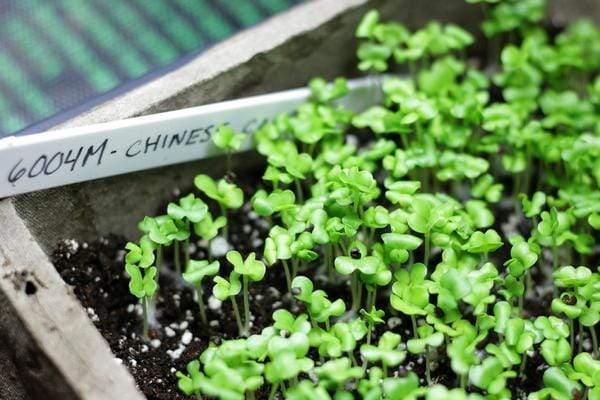
For continuous crops, use succession planting. Start a second crop of microgreens around a week after the first crop, the third crop about a week after the second crop, and so on. This will allow for a continuous harvest of delicious microgreens.
At the Pinetree Garden Seeds headquarters in rural Maine, we love microgreens so much! Share your favorite tricks and techniques for microgreen gardening in the comments below.


After a few years of microgreen growing I am still experimenting and learning and changing. I enjoyed this article. I learned from books. Please, keep selling the seeds. They are difficult to find in stores. And please keep informing your customers. There are varied methods to use to attain the same goal. Hooray for microgreens!!
Hi Lizz,
Typically fertilizer is added when growing microgreens in strictly Coco Coir; to make up for the lack of nutrients. Hope this helps!
You have a statement that microgreens gain nutrition from soil but plenty of microgreens grower use just coco coir, no nutrients added as far as I can tell.
I try to use my seeds for a couple of years, but after that I buy fresh. I grow lots and lots of different greens and herbs, and this year instead of throwing the leftover older seeds out, I’ll try planting them for microgreens. I can mix them all together or plant them separately in different flats.
Thanks for an informative article. I wondered if it’s possible to leave the roots in the soil to decompose after you harvest the microgreens.