

We've put together a detailed post on some of the more delicate processes in seed starting; stratification, scarification, and soaking, as well as some basic seed starting info. Read on!
What does a seed need to germinate?
All seeds are living organisms held in a dormancy until the right conditions are met for their germination and growth. Seeds are very slowly using stored food reserves until they are given signs to wake up and break out of their seed coat. Many factors affect their viability and 'germination', the waking up process.
Moisture, light, air ,and temperature
Moisture - A dormant seed is dehydrated and needs to absorb water to become active, this then wakes up its metabolism so it can utilize its stored food from the embryo. It begins to swell, breaking open its seed coat and then sprouting.
Light - Plants have different needs for light requirements for germination. Some seeds need light for germination and others do not. For example, strawberry seeds require light so they must be planted on the surface. Tomatoes, peppers, and squash don't necessarily require darkness and will germinate on top of the soil. But they will all need light - natural or artificial - once they start the growth process. A good rule to follow is to plant the seed at a depth 2-3 times its thickness.
Air - Oxygen is needed for germination. The seeds obtain this by using oxygen from the water and air contained in the soil. When soil conditions are kept too wet, there is not enough oxygen for the seed to breathe and it will rot, stopping its germination process.
Temperature – Germination temperature varies for different crops. The optimum for most crops is 65°-75 °. Too warm or too cool soil can lower seed germination or inhibit it. Warm season crops started indoors like peppers, tomatoes, eggplants, and watermelons perform best when soil temps are 75° to 80°. Another example is lettuce seeds, which do not well germination in temps 80° and above.
Soaking, Scarification, and Stratification
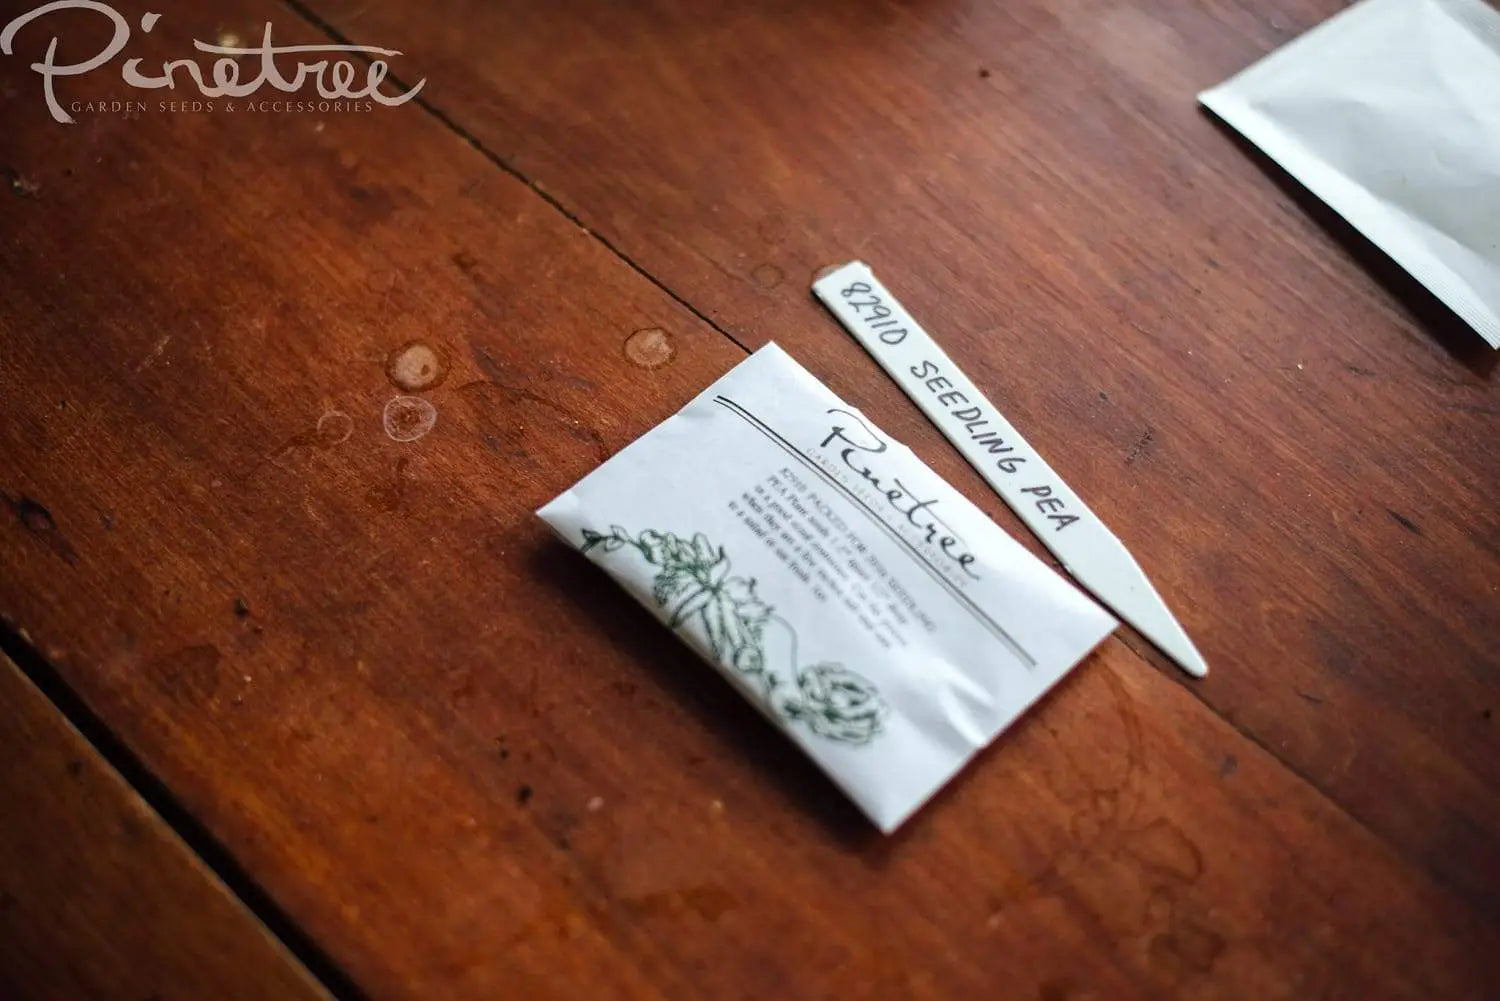
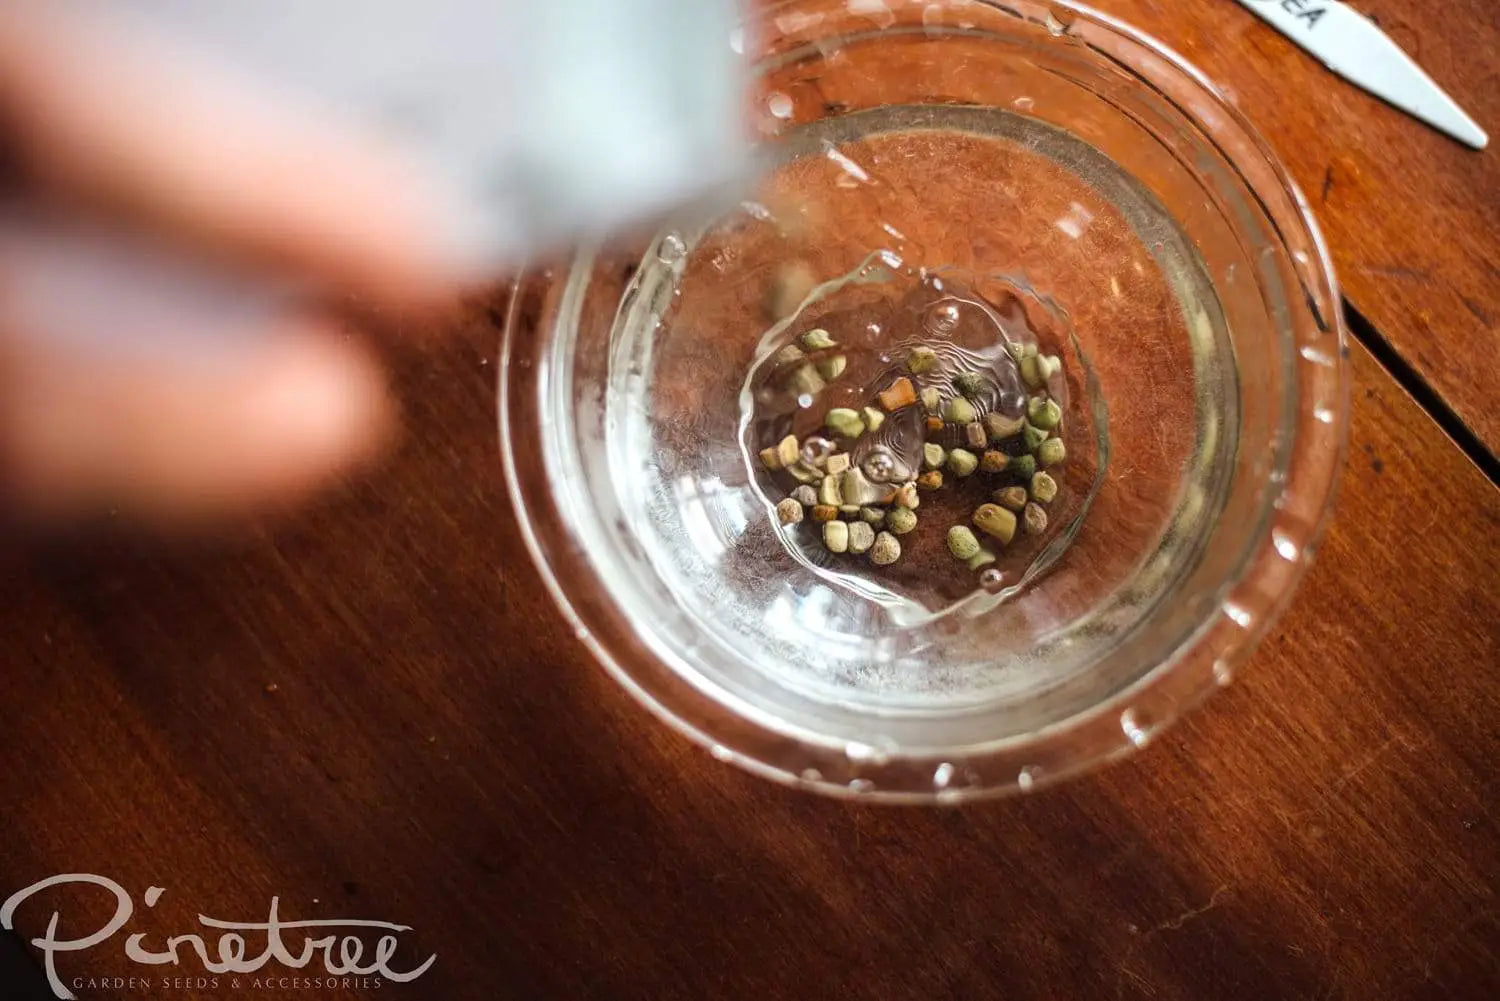
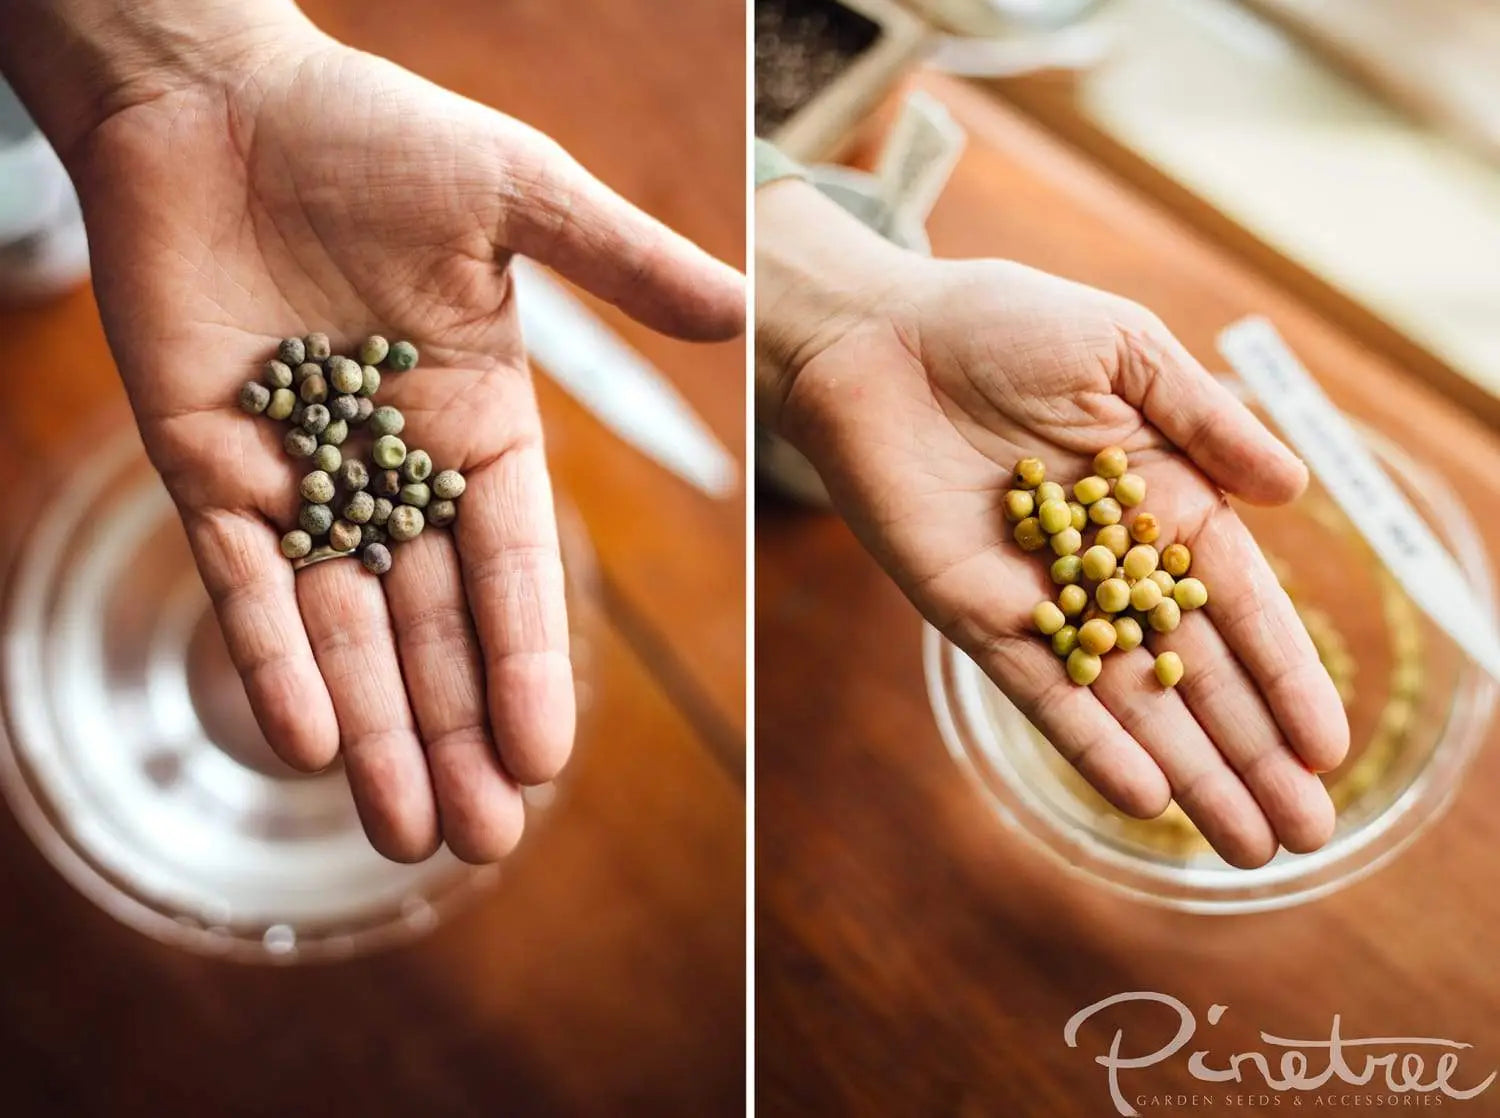
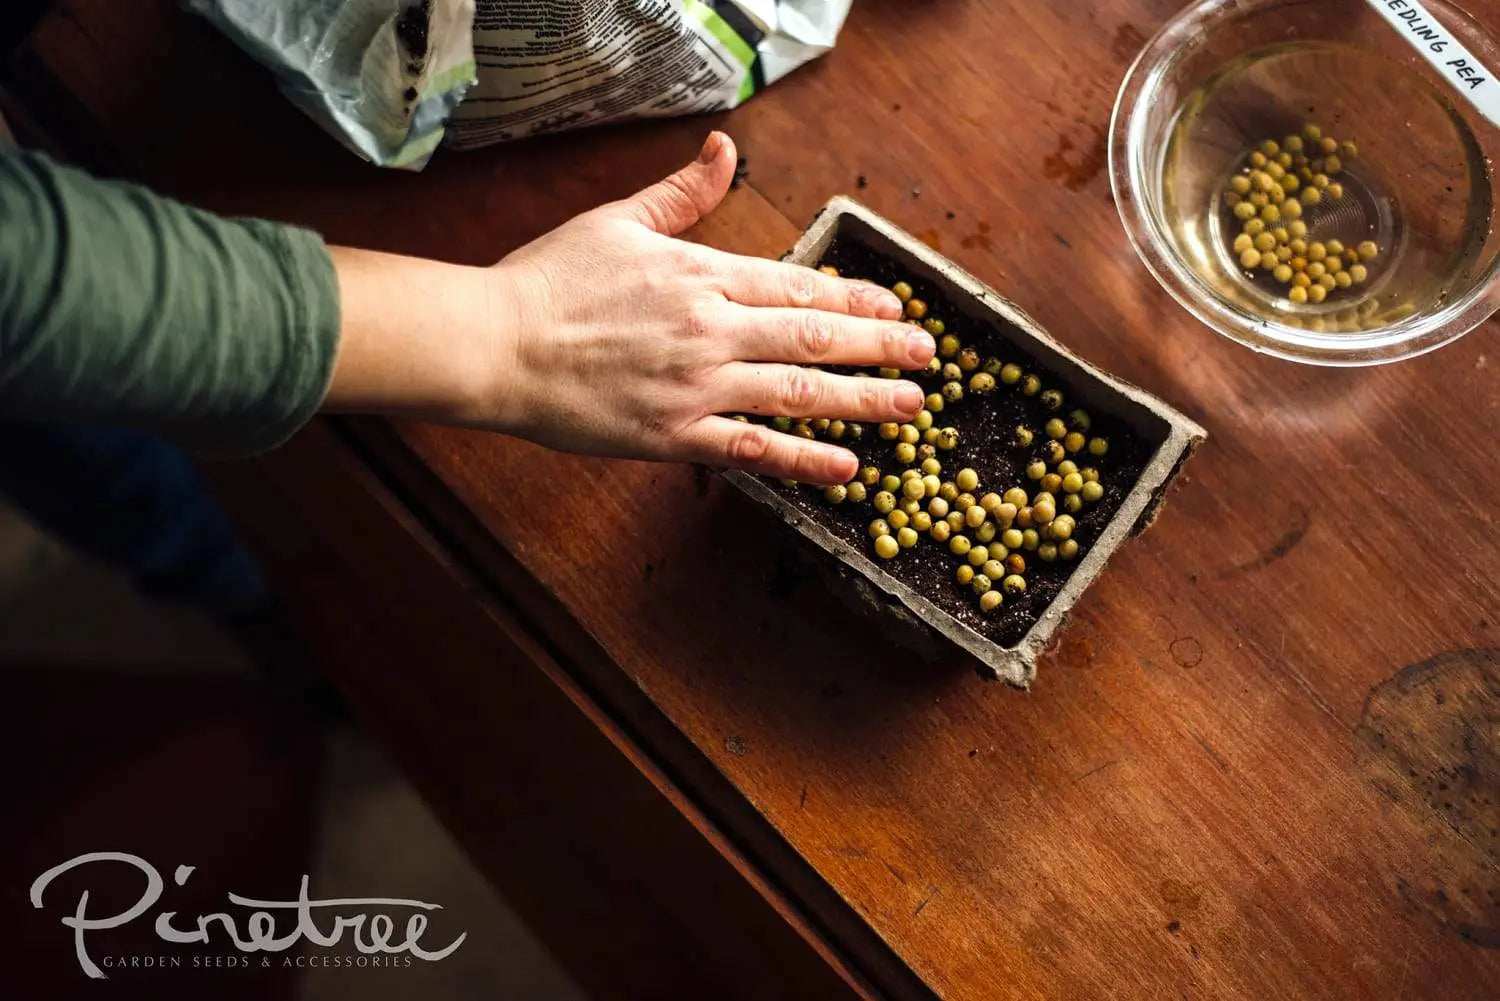
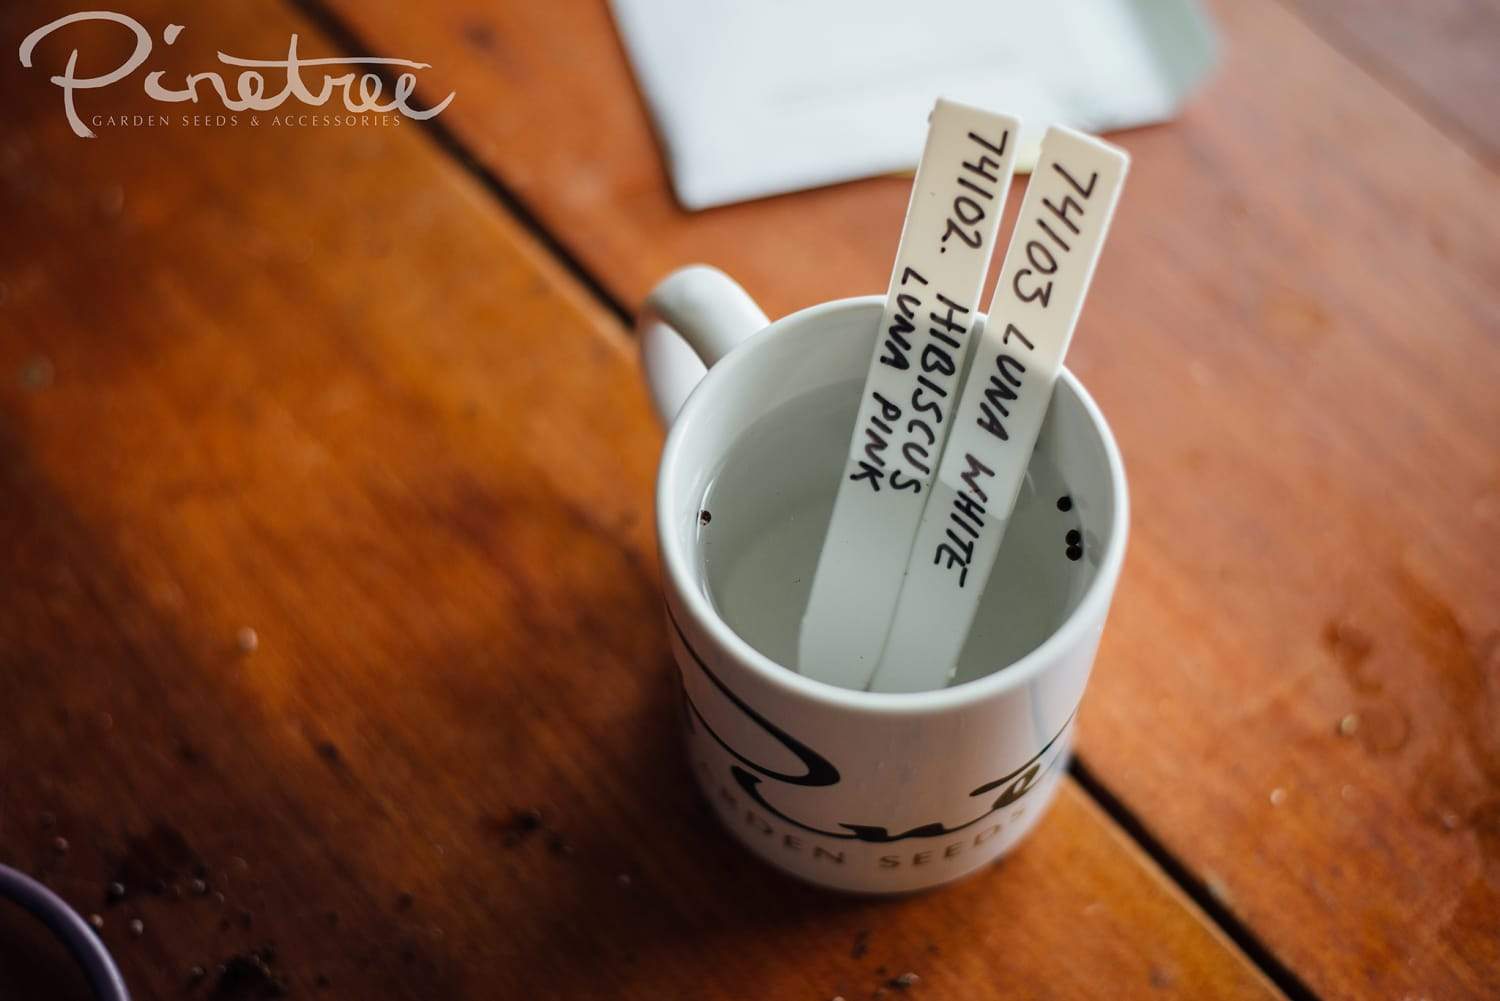
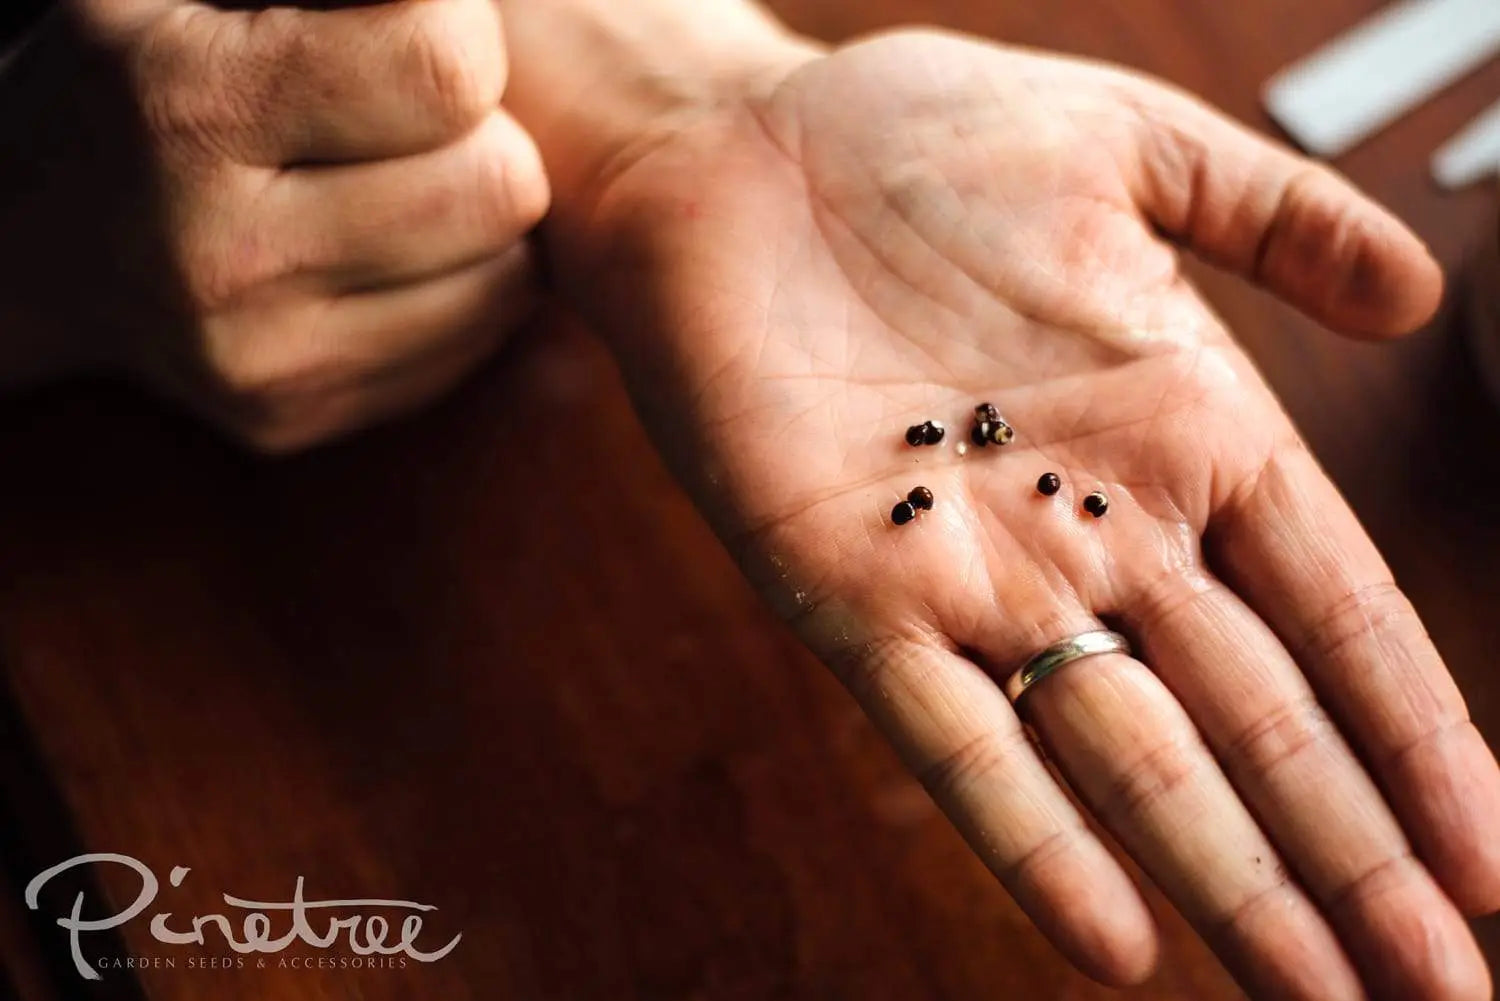
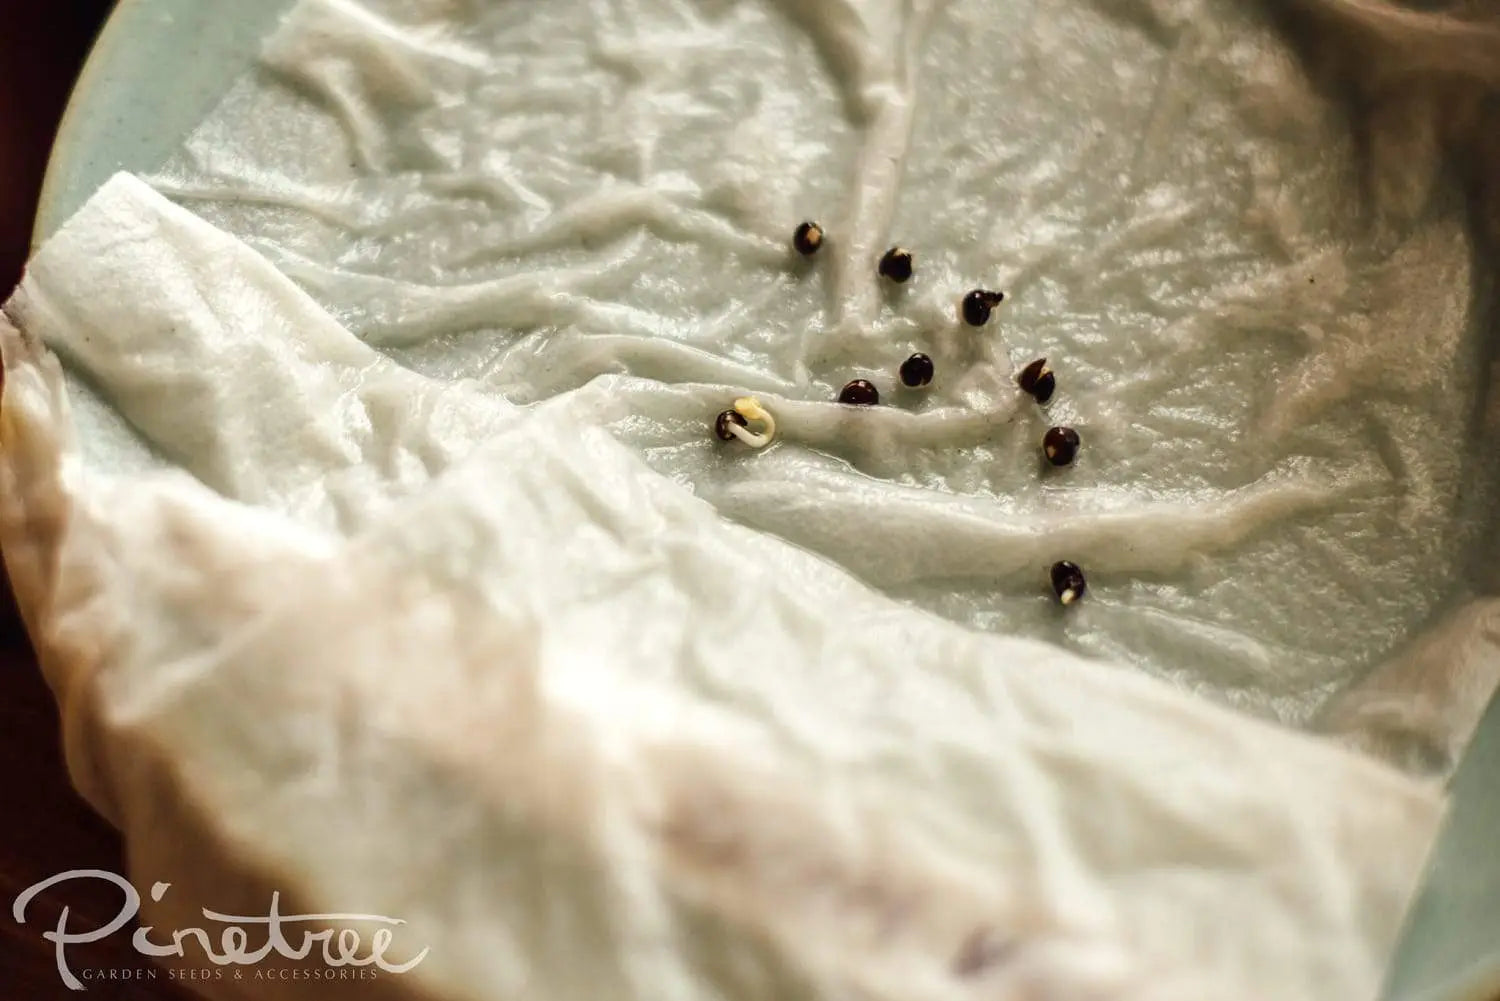
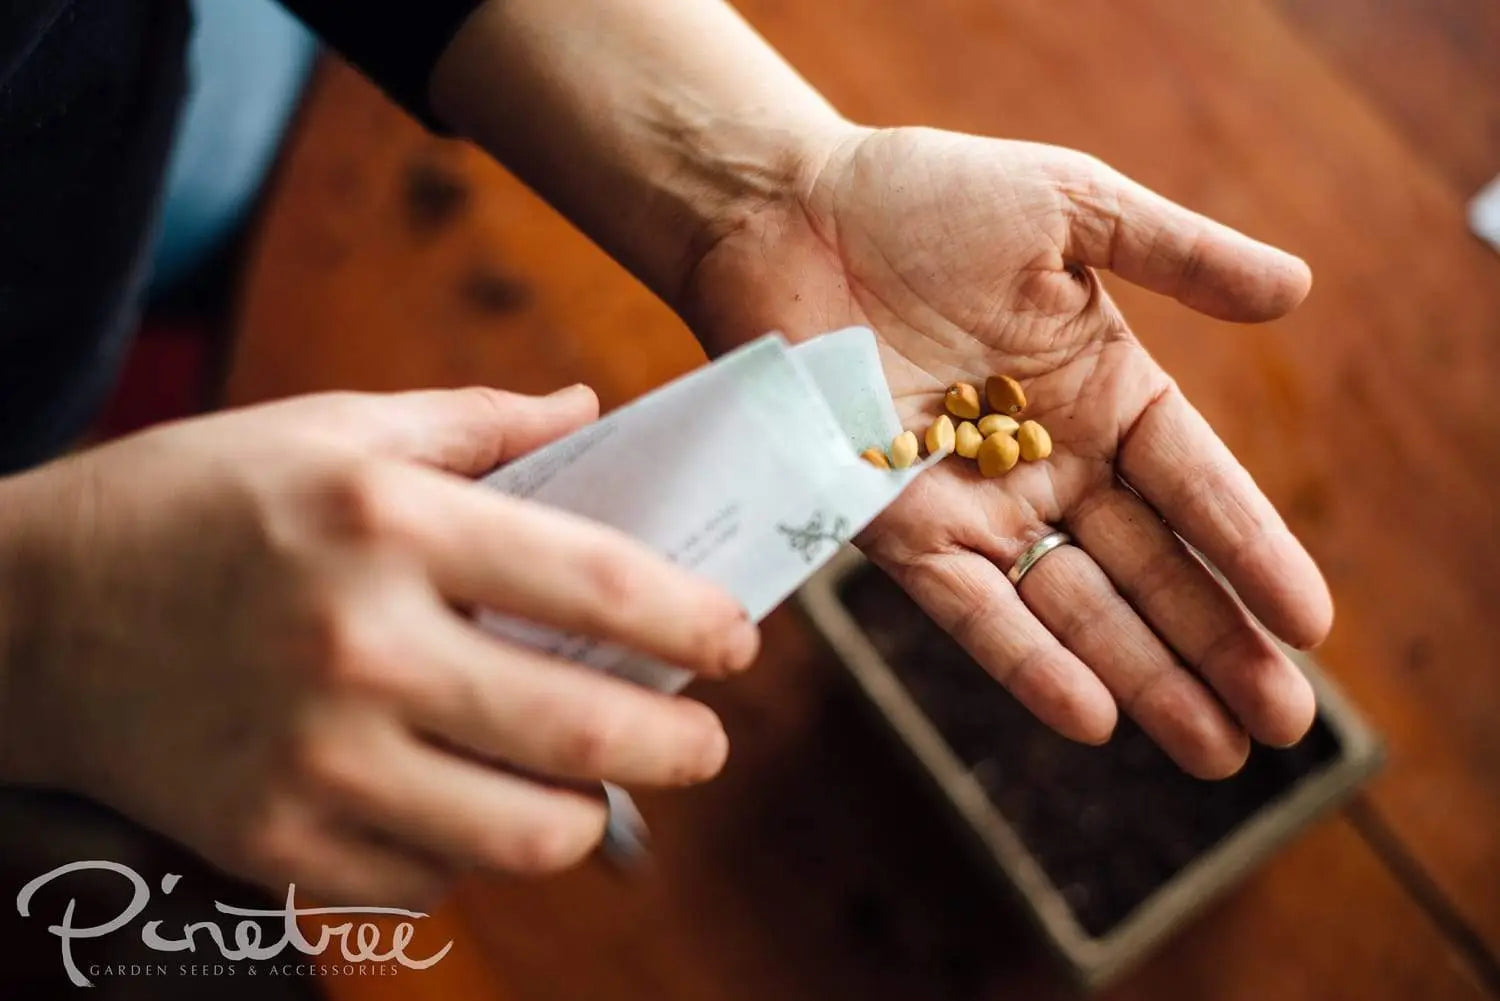
SOAKING - The purpose of soaking seed is to break through the protective seed coat (testa) and provide it some moisture before it is planted. Sometimes to start seeds, you must fool nature! By soaking seeds you are artificially breaking the dormancy of the seeds and this gives the seed the sign it now has optimal growing conditions . Soaking your seed can decrease germination time. For example, peas and beets come up faster when they have been soaked in water 24 hours prior to planting. Thick, hard seed coats, like morning glories, moon flowers, nasturtiums, sweet peas, also benefit from being soaked. Some seeds have inhibitors so they don't germ inside the fruit, and this needs to be leached off by soaking. In nature, this could take awhile, so soaking speeds up the process. Soaking just for a day can provide the same amount of water than some seeds would get in a week sown out in the garden absorbing water from the environment.
How-to:
- Cover with an amount of water 4-5 times the volume of the seed
-
Warm, clean tap water is good for soaking (If you wouldn't drink your tap water, then don't soak the seed in it. Use bottled water instead. )
- The seed coat often becomes lighter as the seed swells and hull softens
-
Soaking 6-24 hours is best before sowing immediately. Your soaked seed needs to be planted right away to prevent them from drying out.

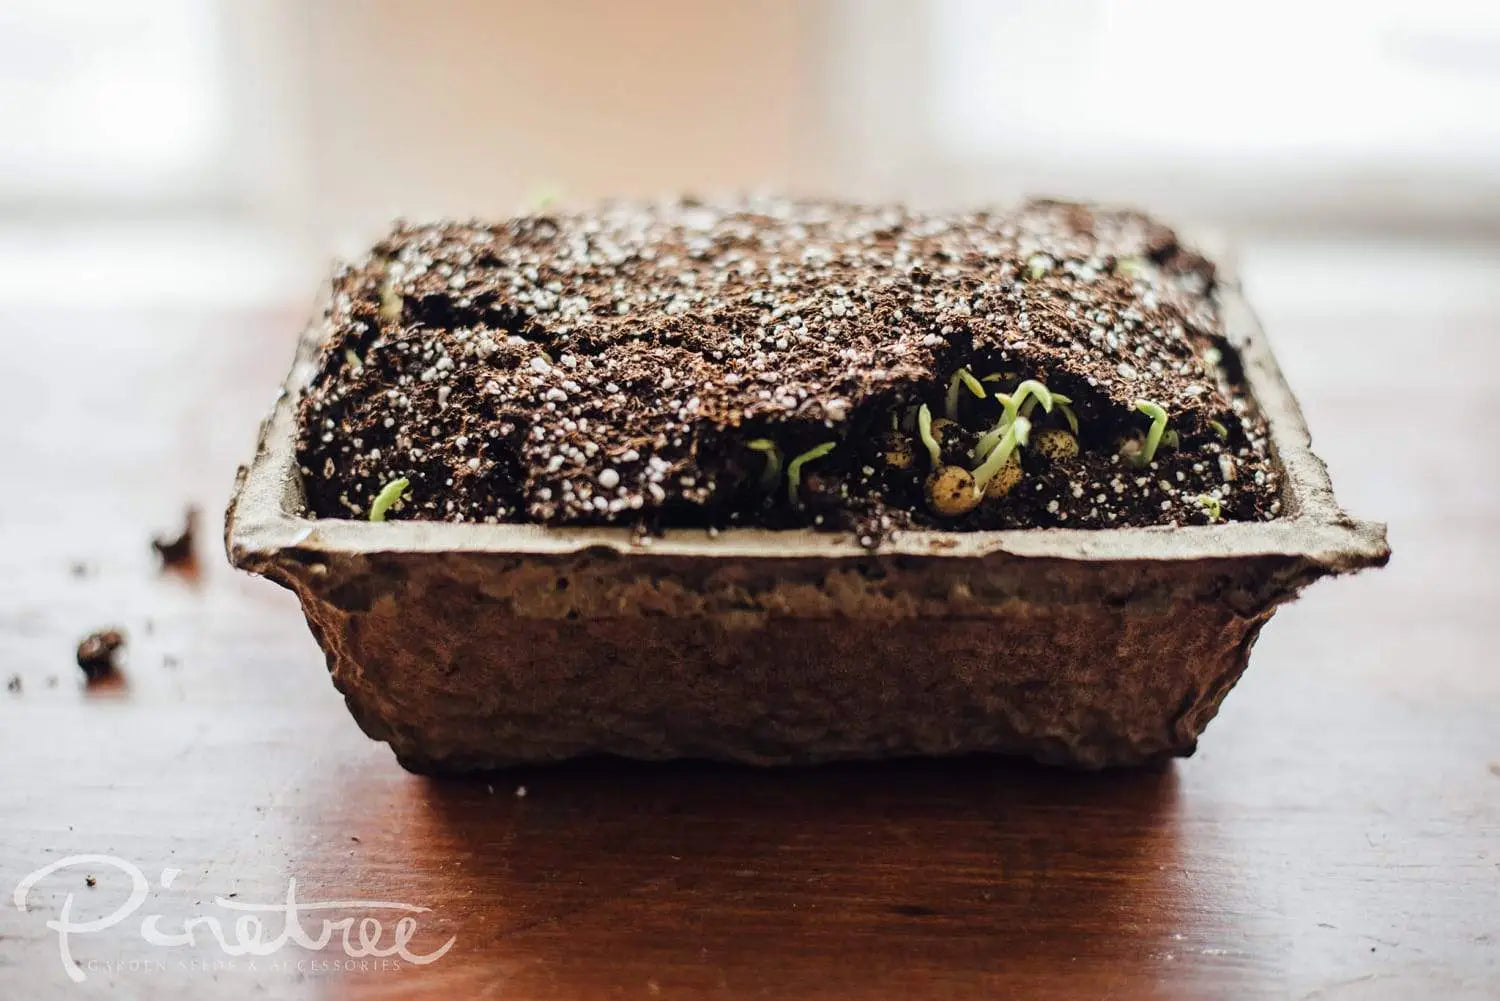
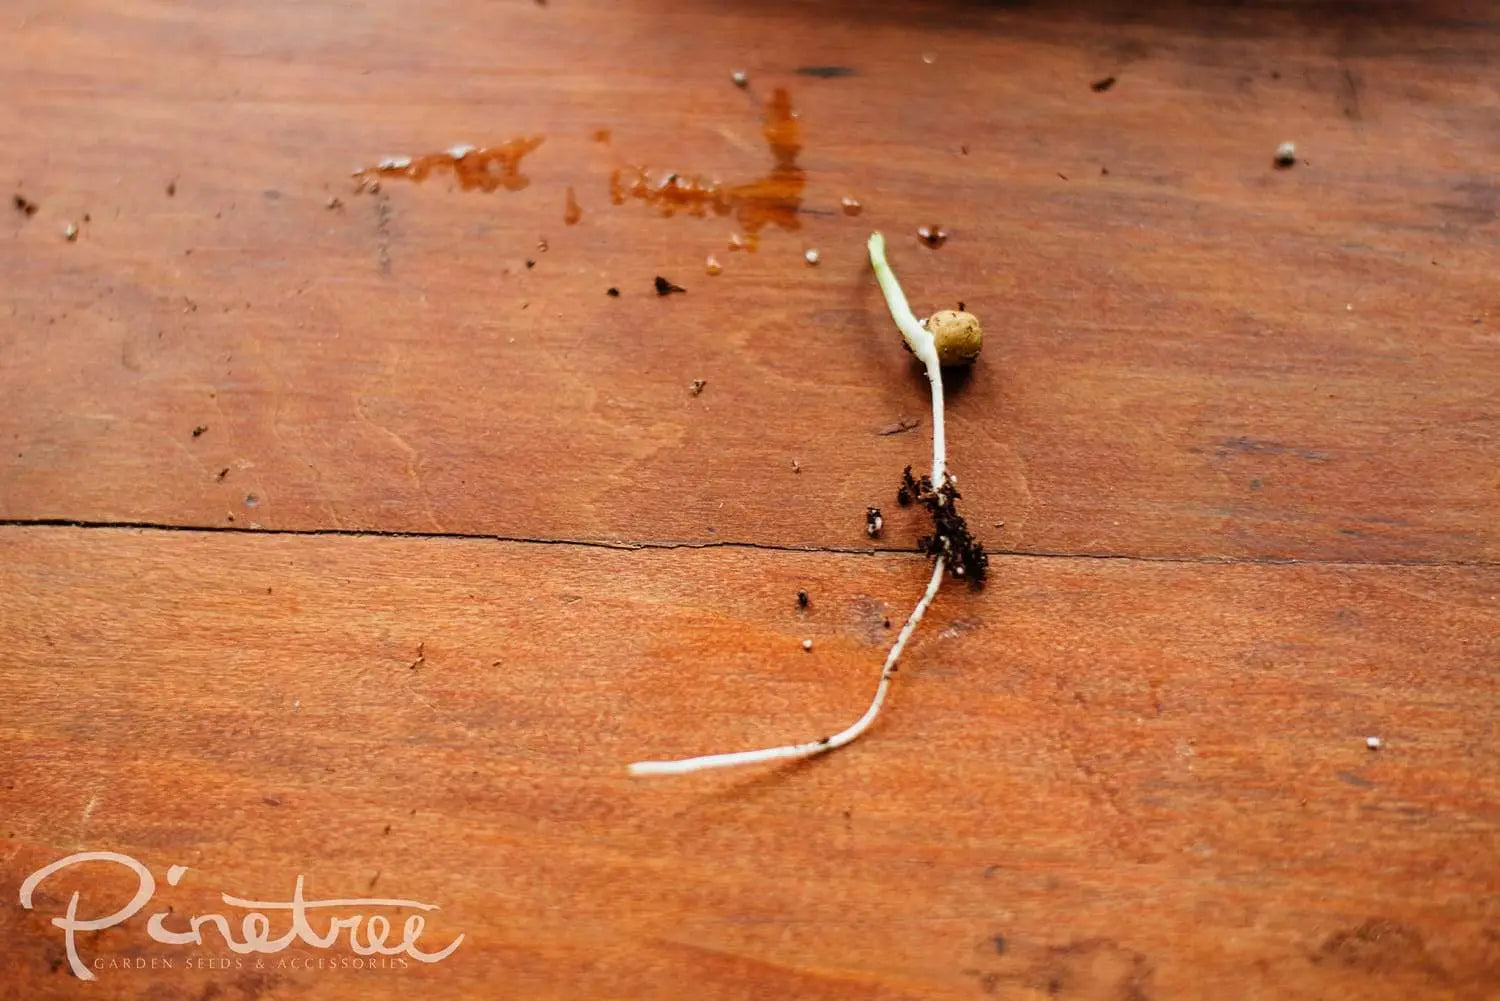
- 8 days later, seedling pea sprouts!
-
Our master gardener here at Pinetree usually soaks her seed the night before, then plants the seed in the morning. You can also soak the seed in the morning, and then plant it in the afternoon.
-
CAUTION: Over soaking can cause the seed to rot and start the decomposing process. Also, soaking the seed after the root is exposed can result in early root damage.
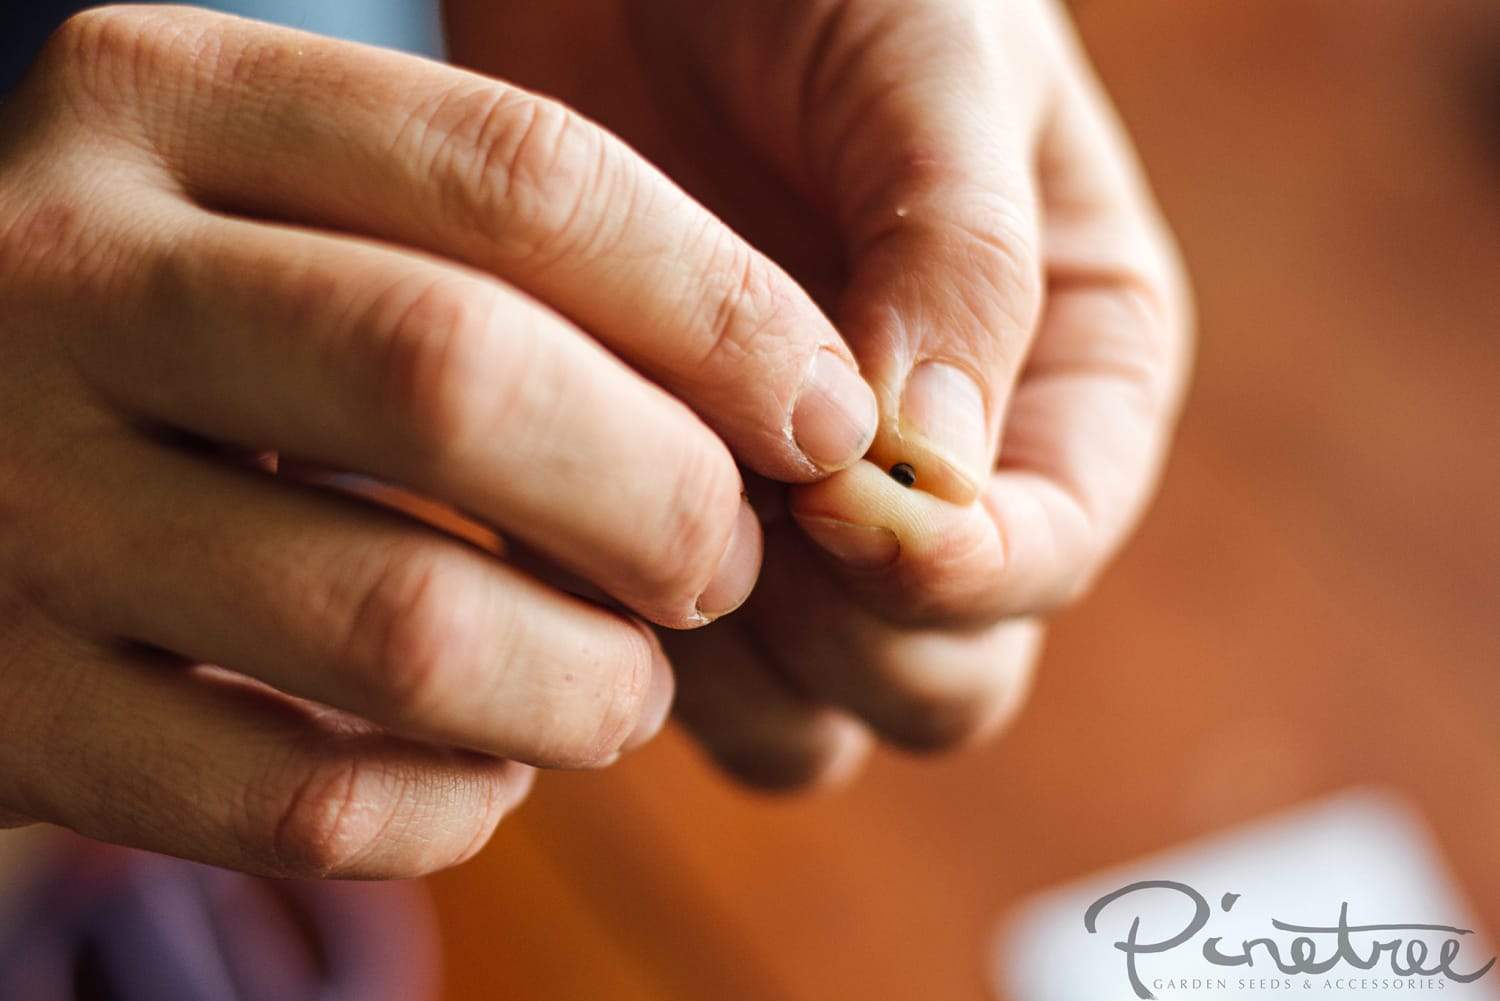
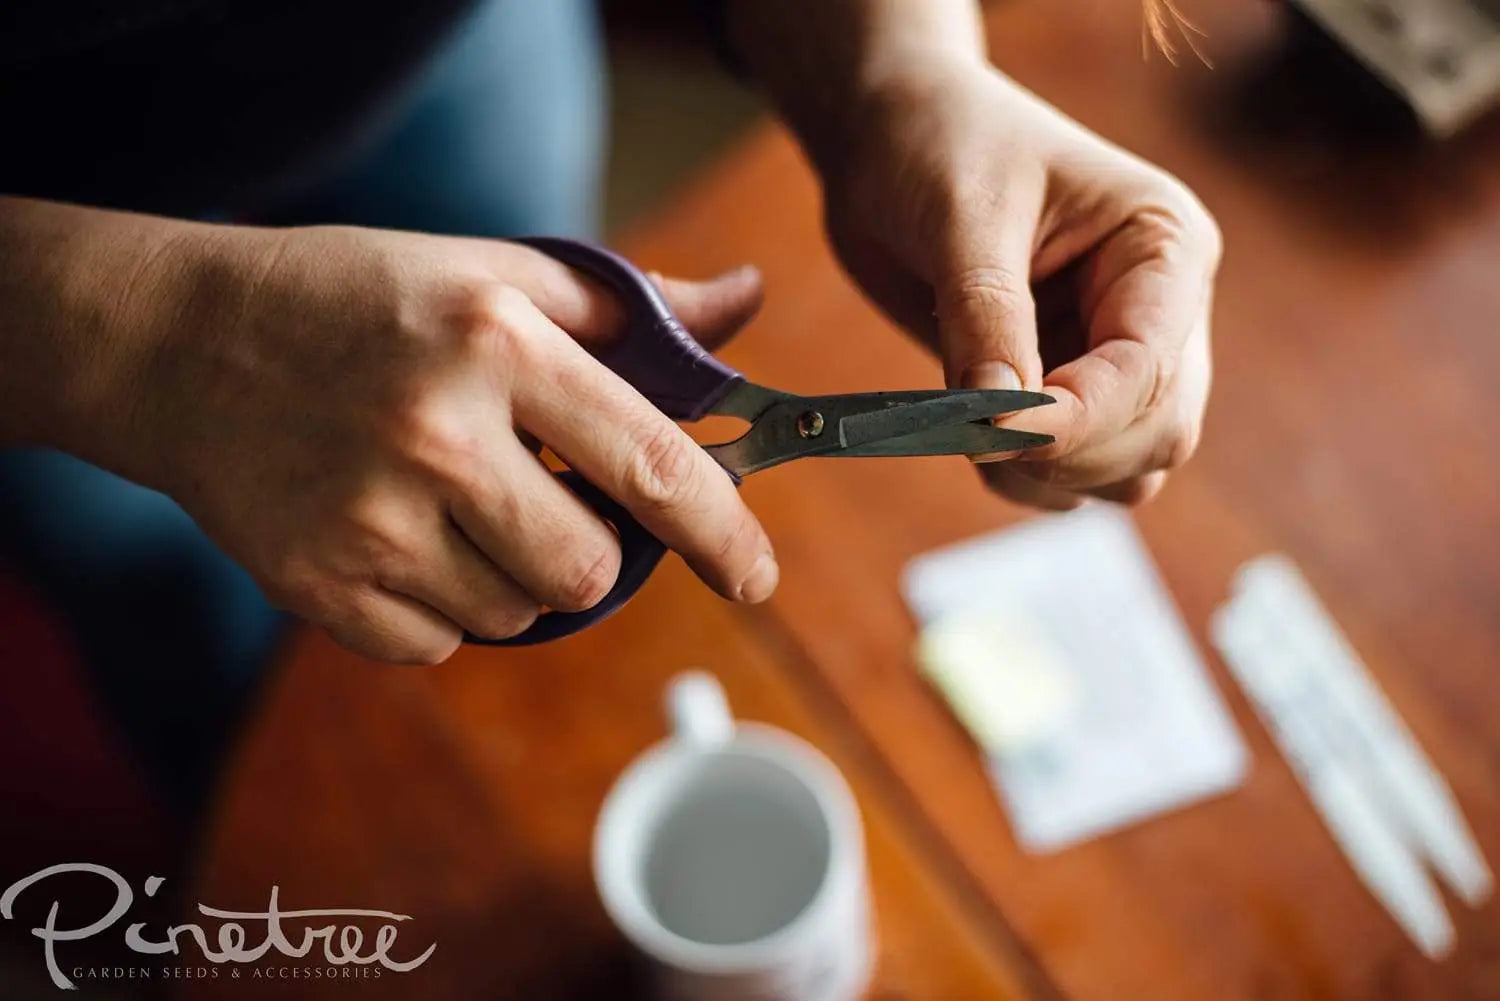
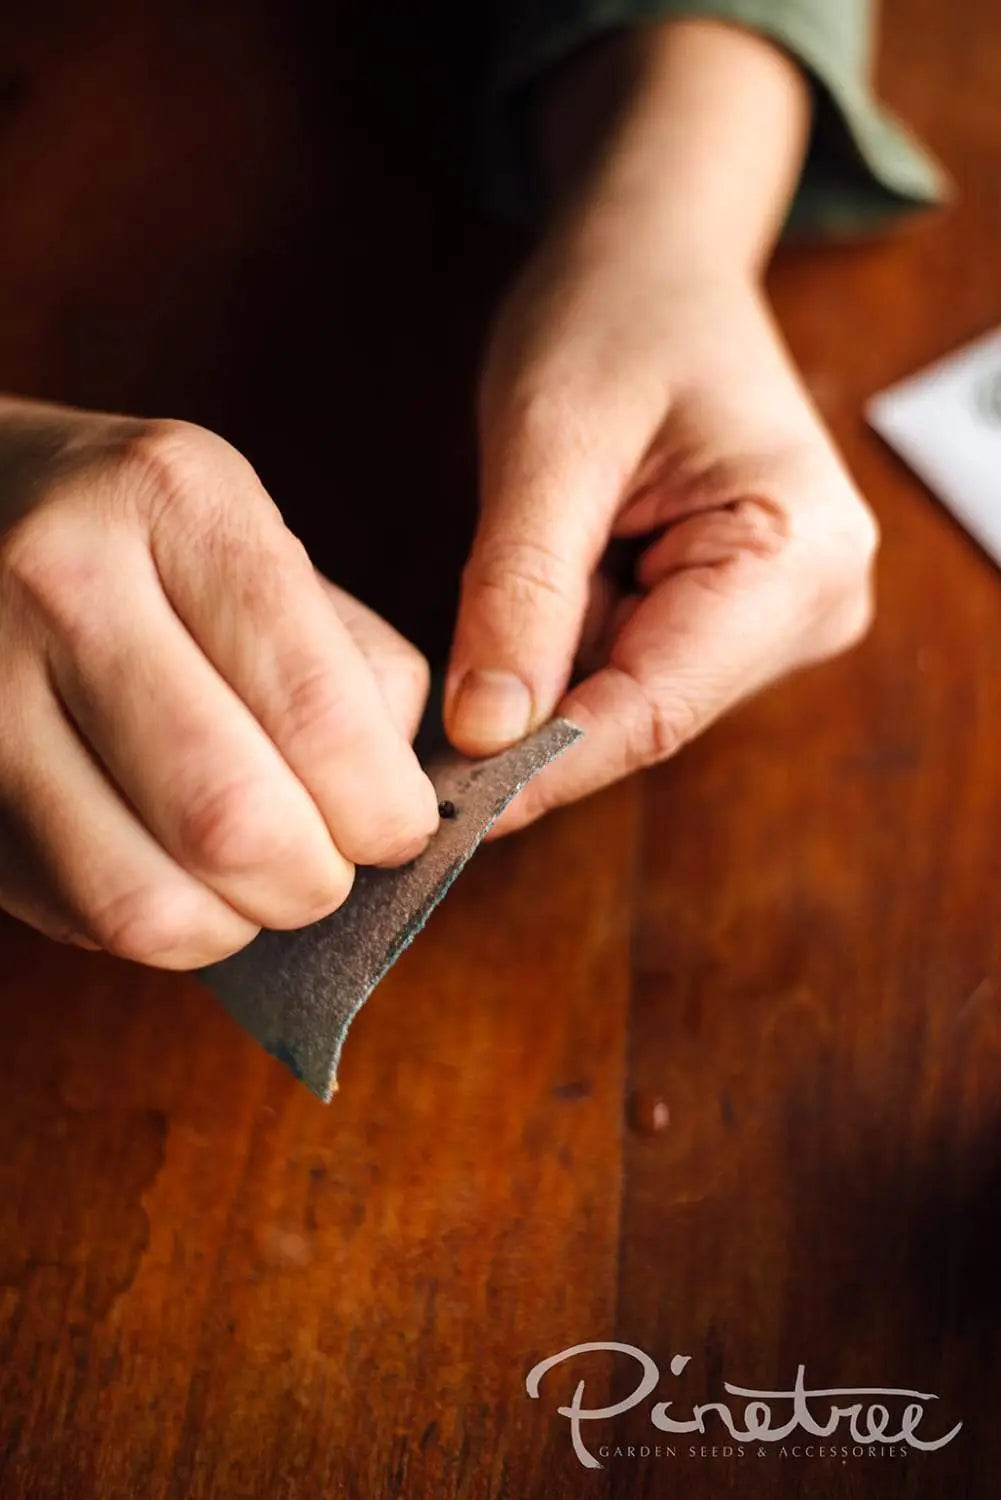
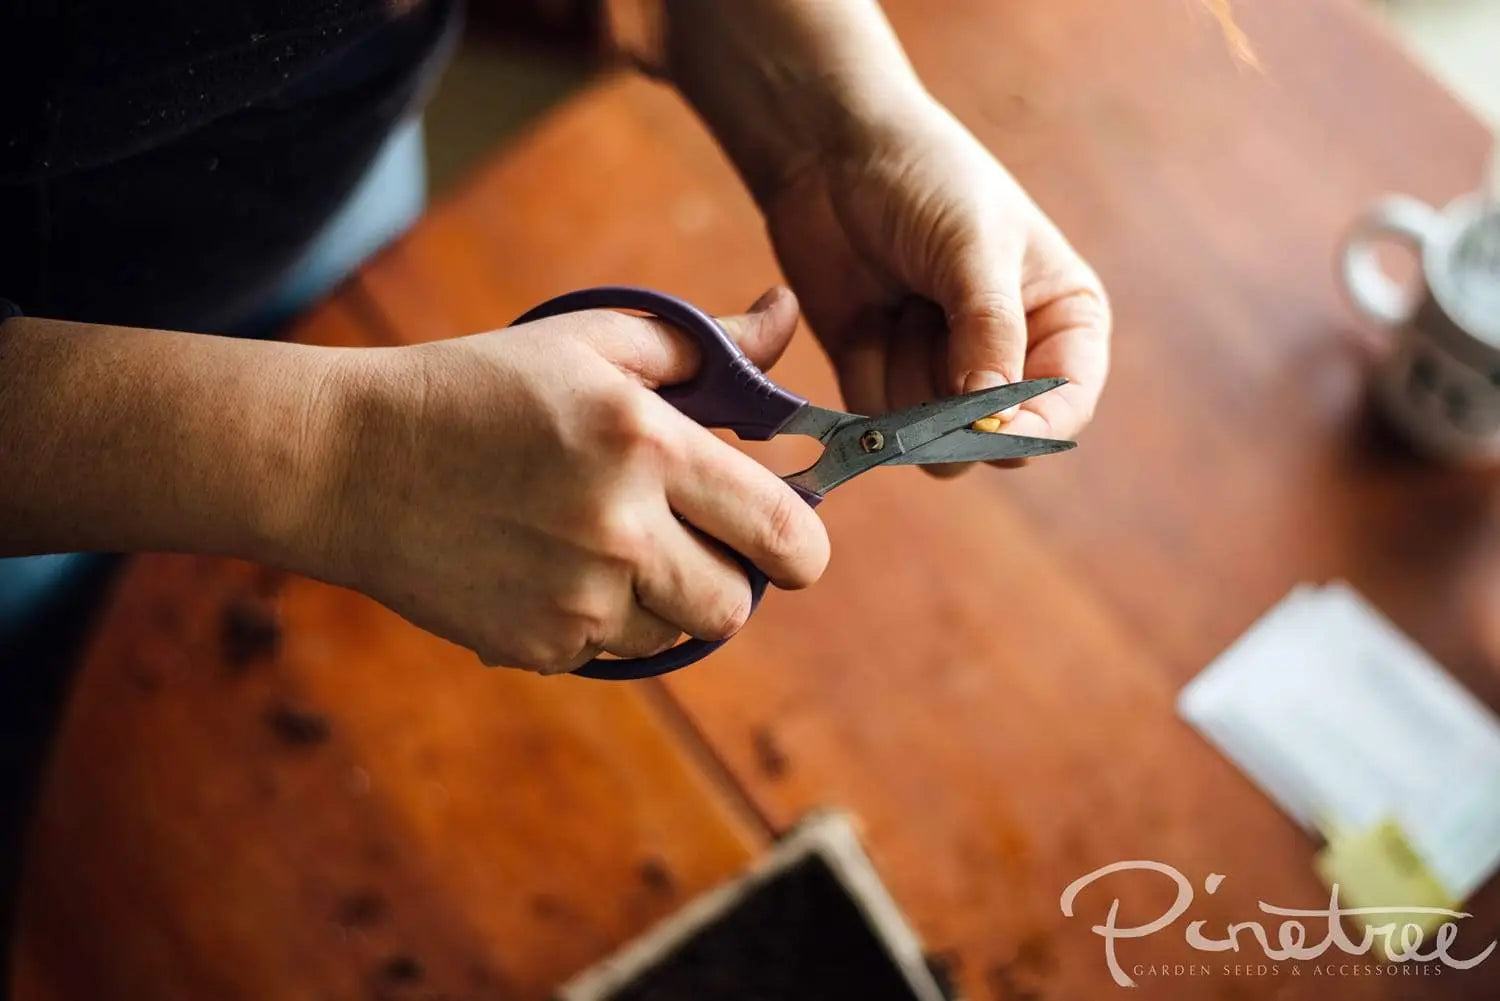
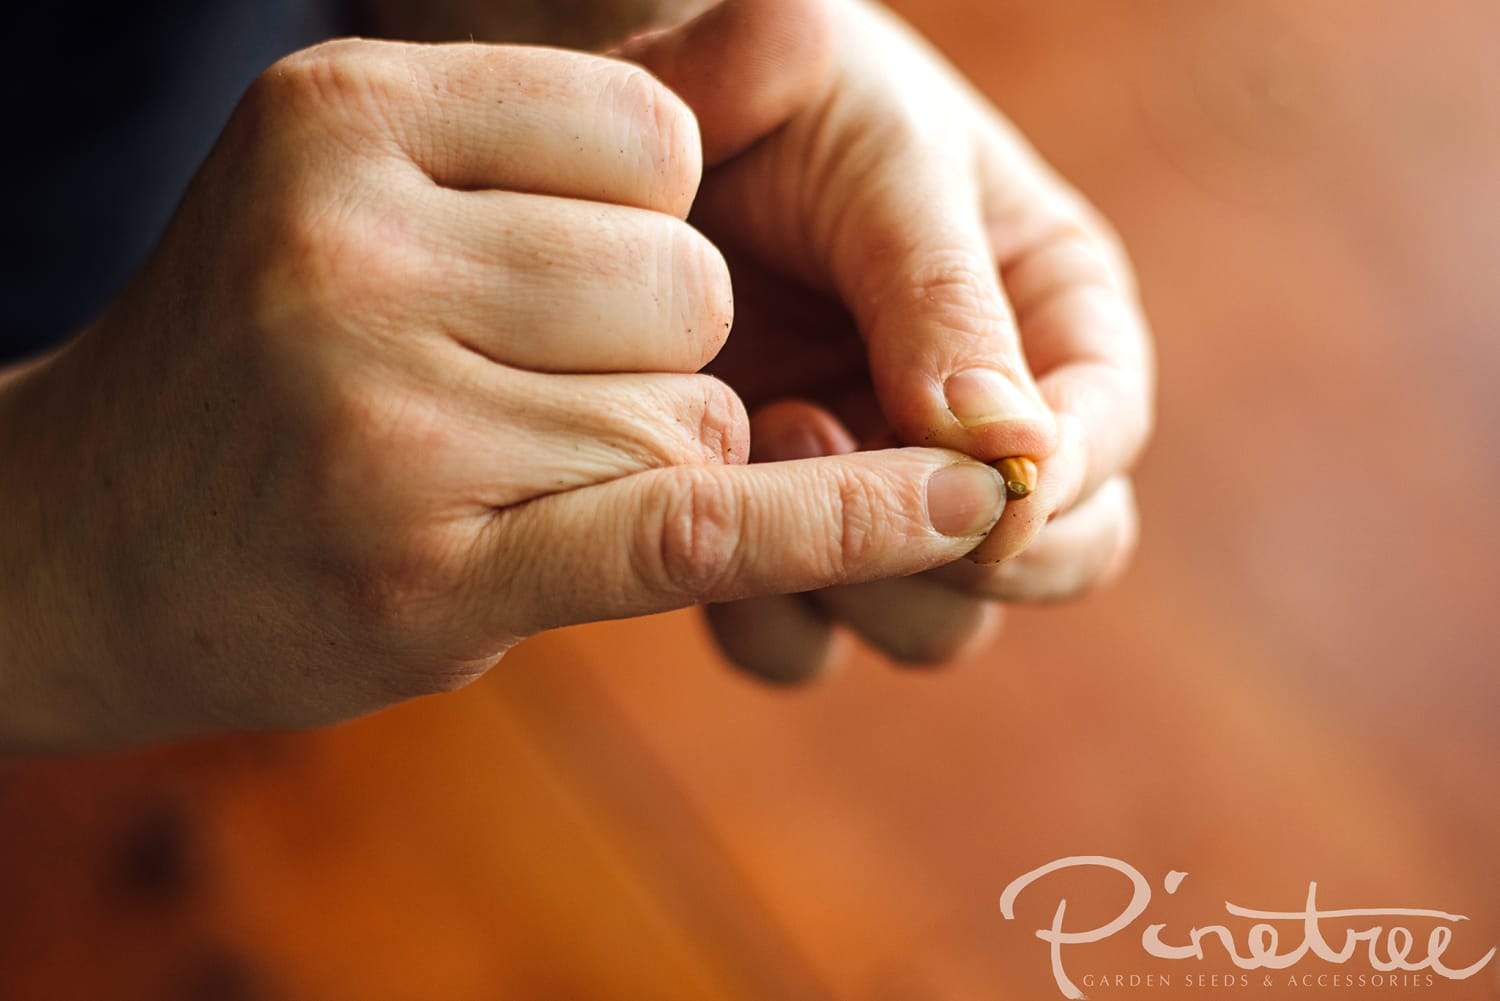
SCARIFICATION - Scarification allows moisture and water to penetrate better and quicker by scratching, nicking, or breaking the seed coat. This is generally used on large seeds or seeds with hard coats.
How-to:
-
Nick the seed coat using a knife, rub on a file or sandpaper or gently knock with a hammer.
-
Be careful not to damage the eye (AKA 'hilum', the area where the seed was attached to the ovary of the parent plant)

- If the seed requires soaking as well, do so before planting.
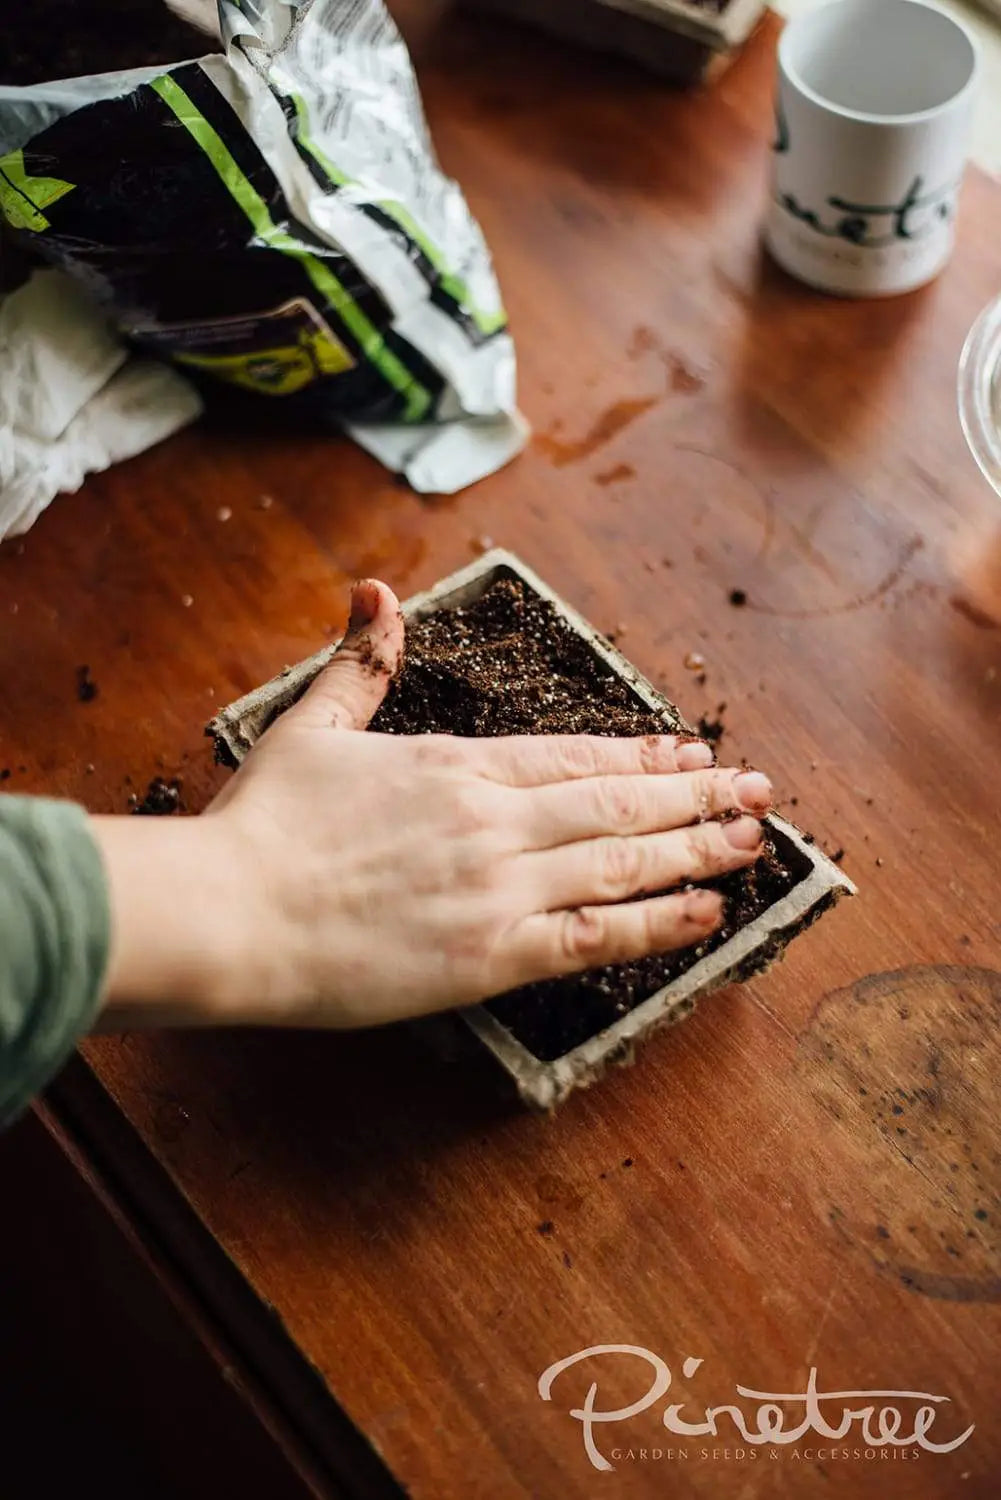
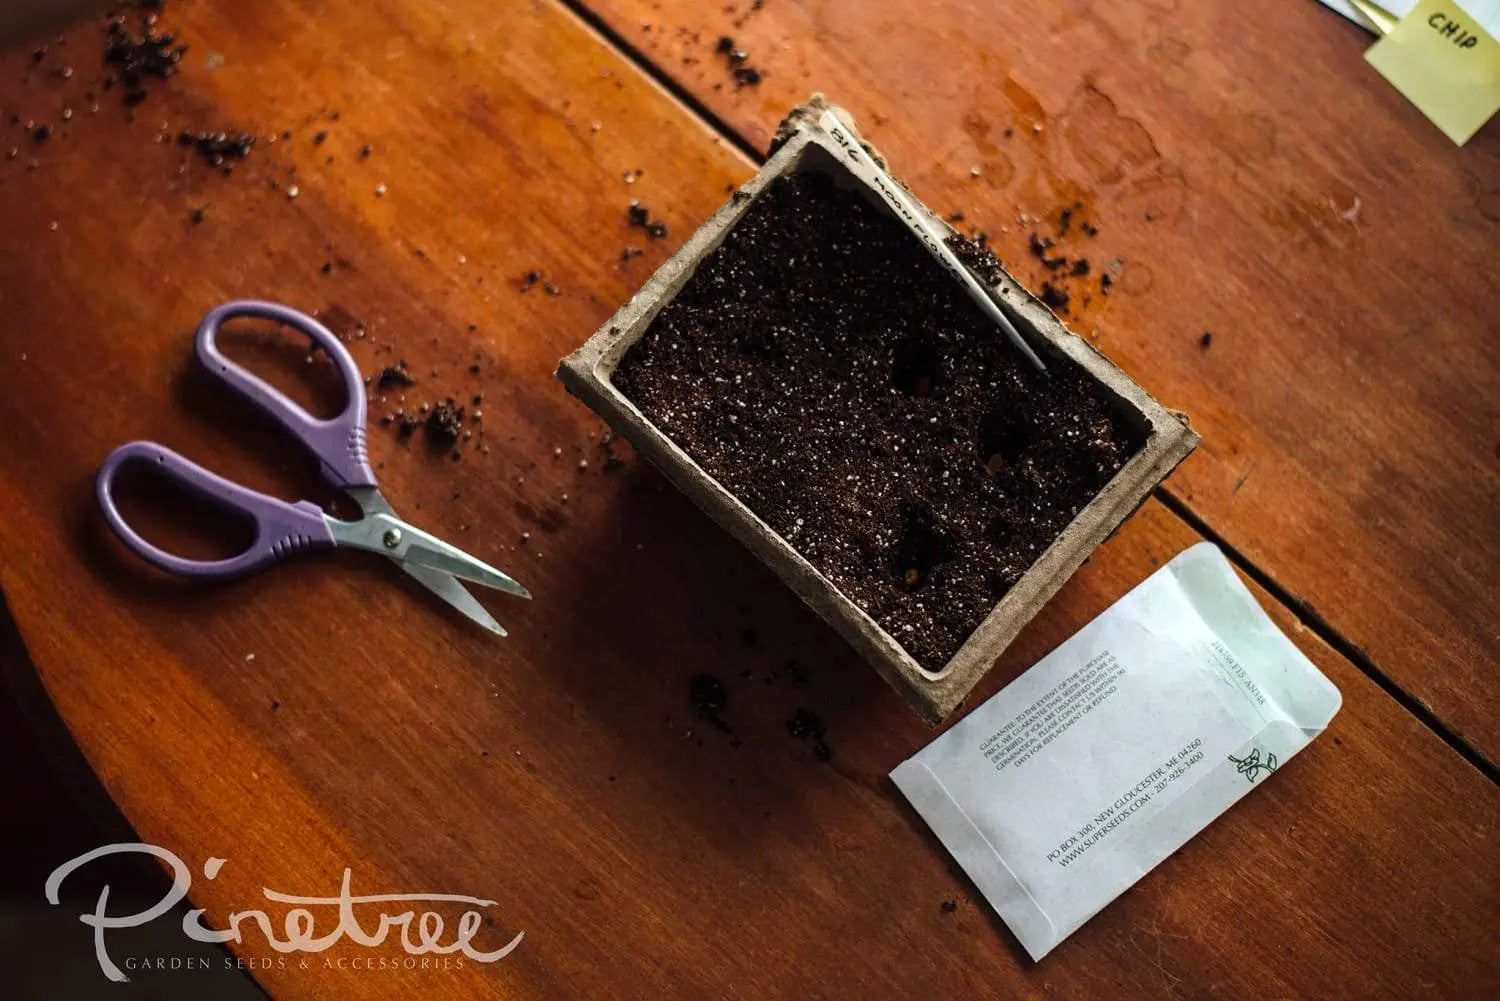
- If it does not require soaking, plant directly into soil-less mix, or your preferred seed starting medium.

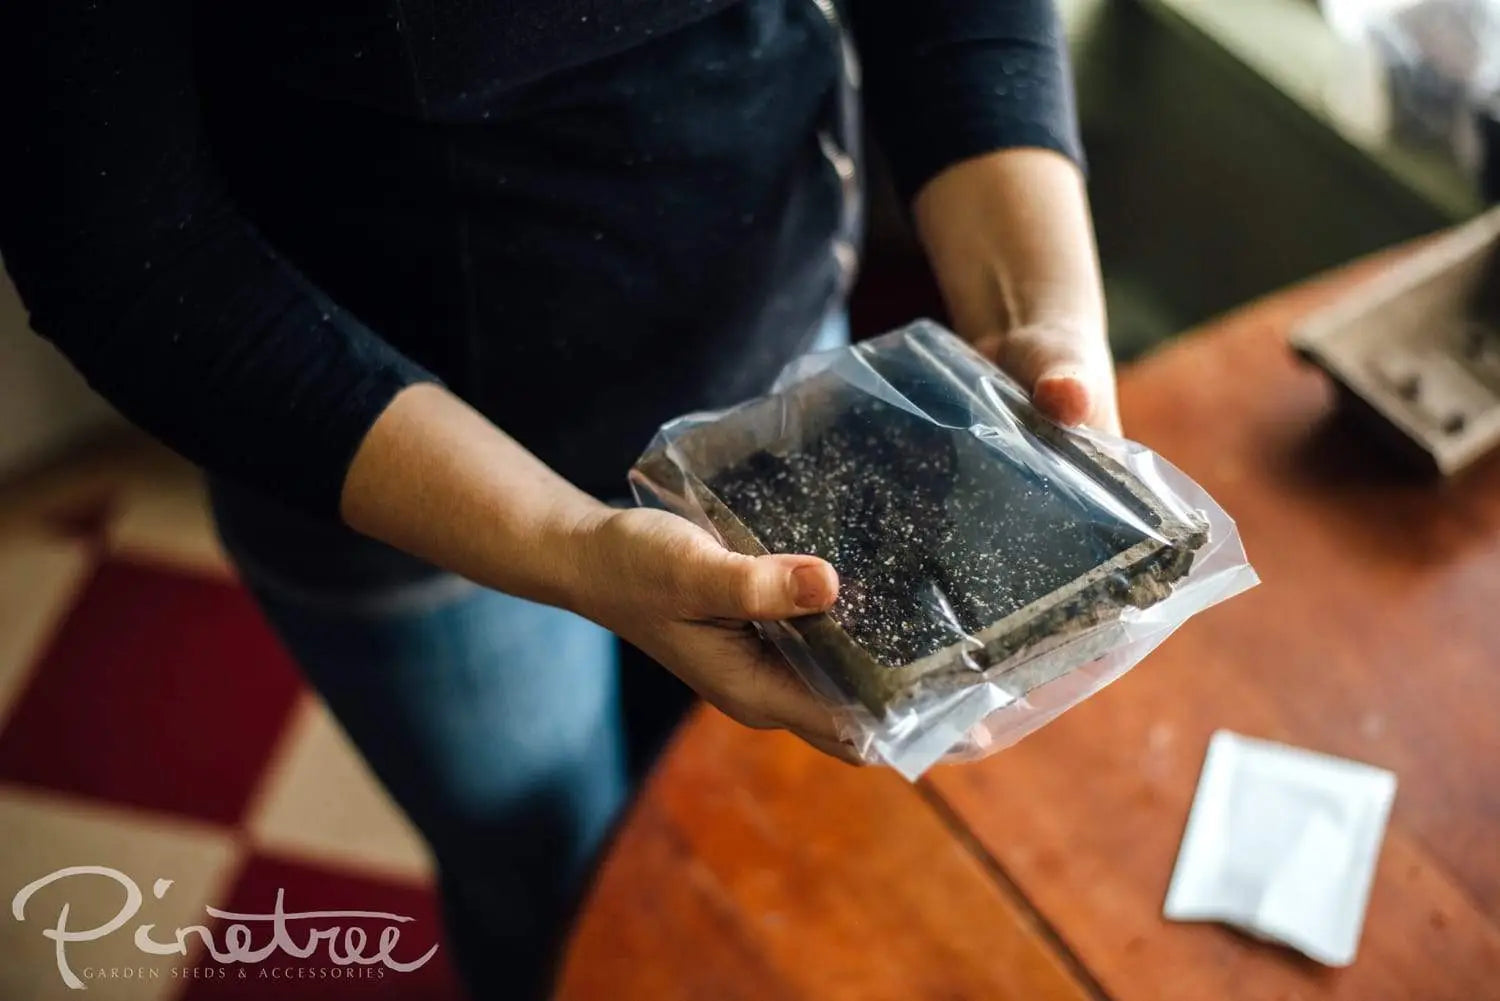
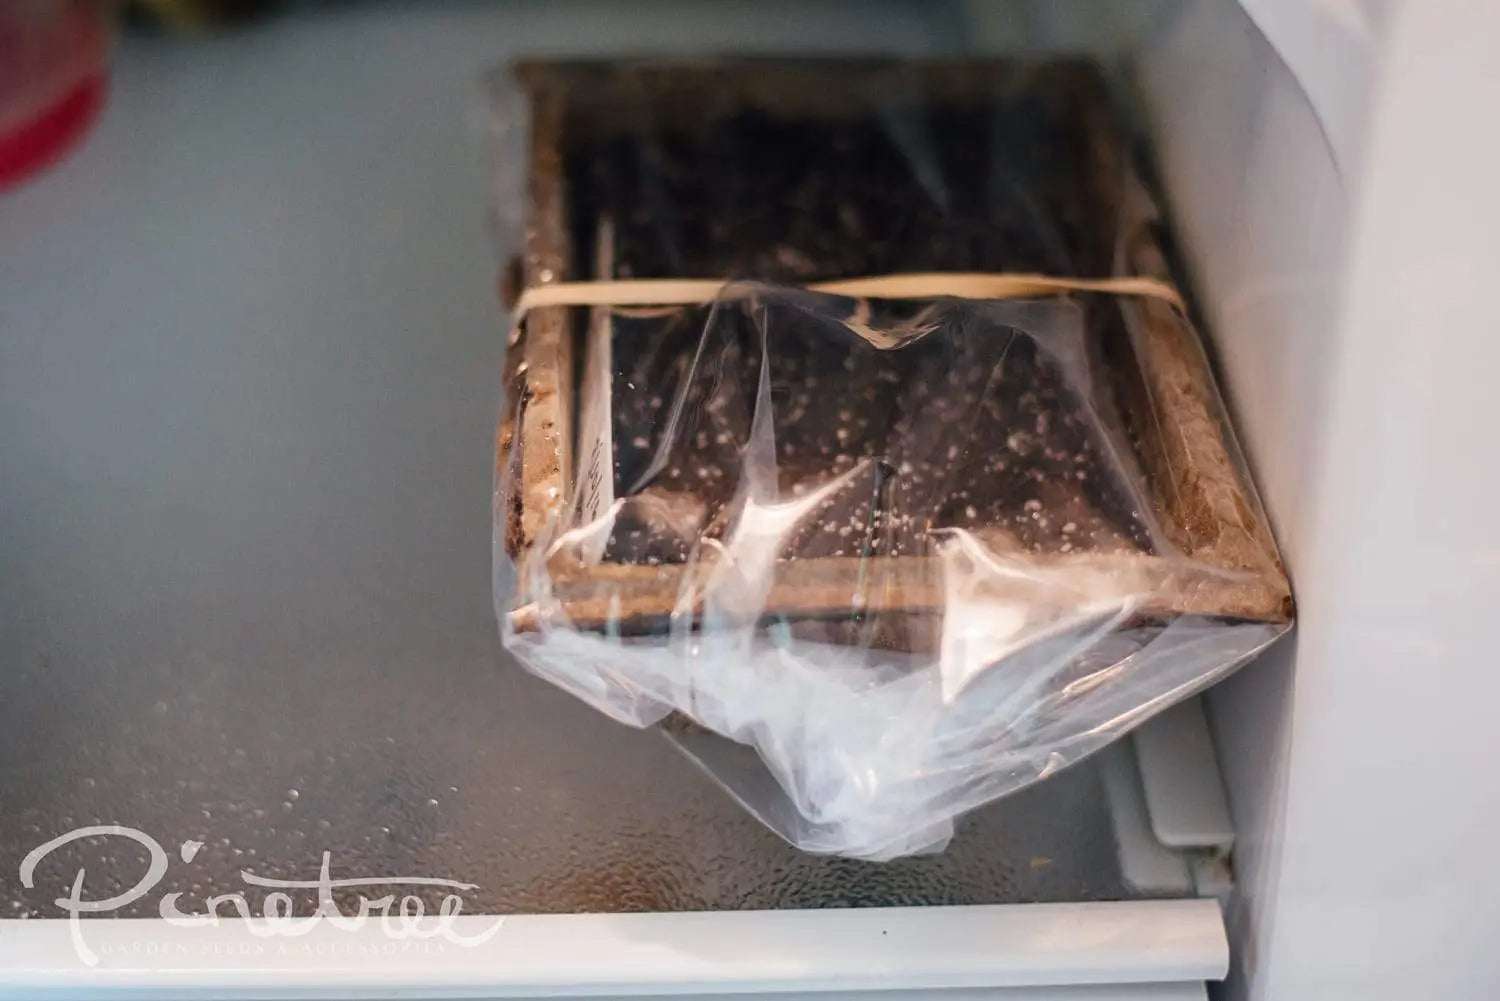
STRATIFICATION - Stratification is the process of exposing seed to cold prior to sowing in order to simulate natural winter conditions that some seeds must go through before germination. Some seeds go through a dormant phase, and generally will not sprout until this dormancy is broken. The seeds of many perennials need this chilling and warming to break down the germination inhibitors. Sowing outdoors in the fall can provide these conditions naturally. So can WINTER SOWING! Stratifying your own seeds inside provides you the ability to control this process more, mimicking winter following with the spring or warm temps.
How-to:
-
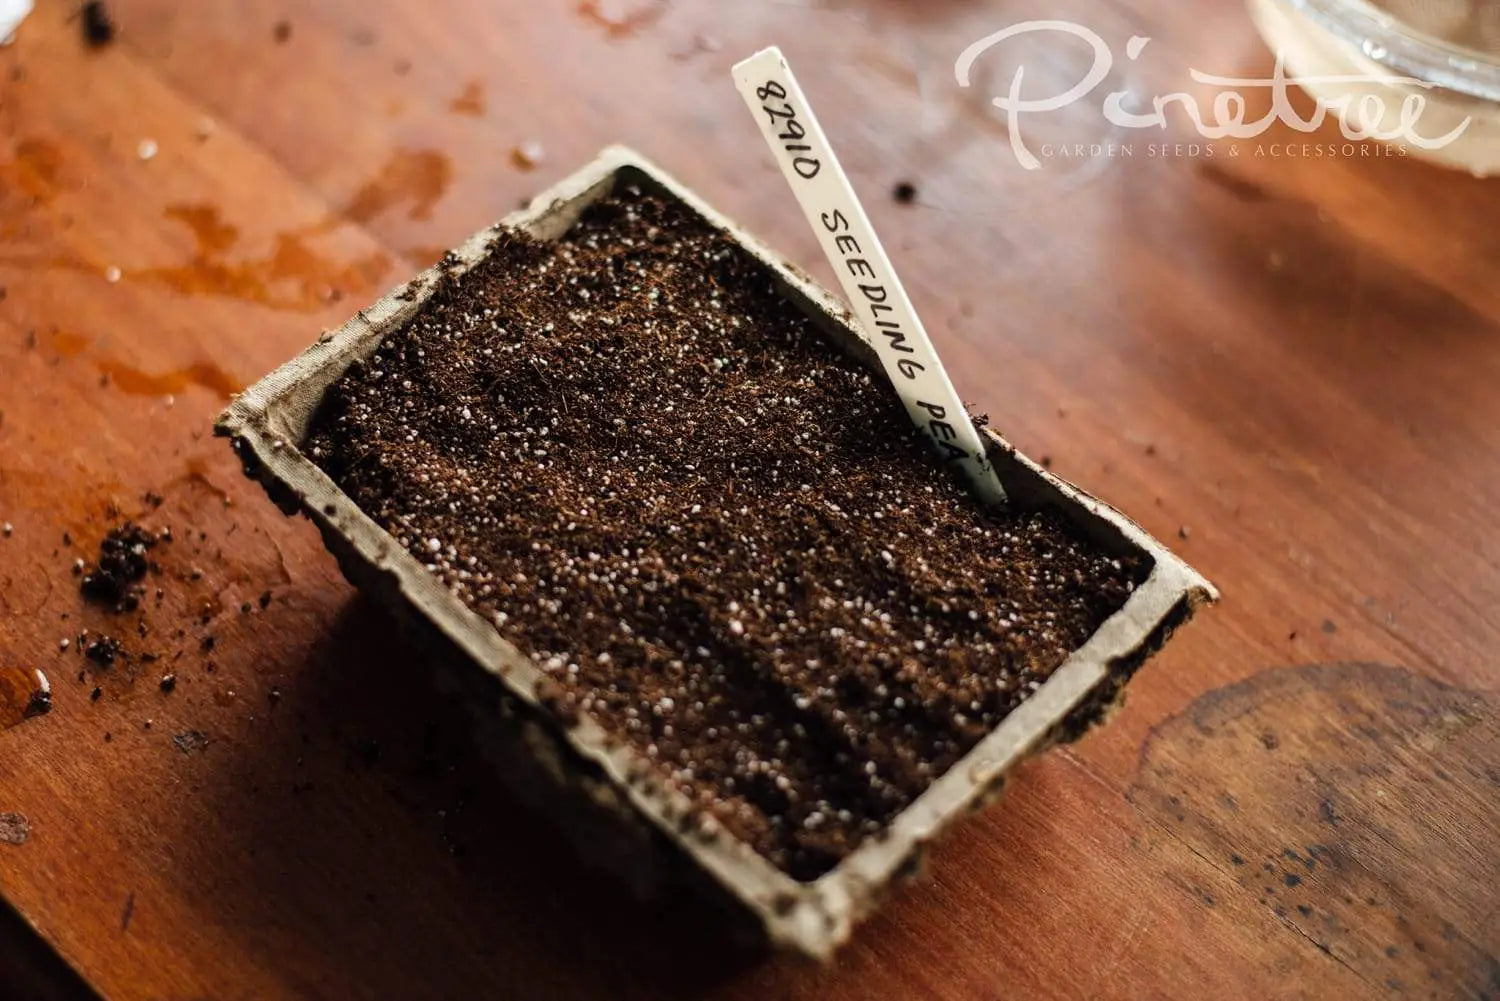
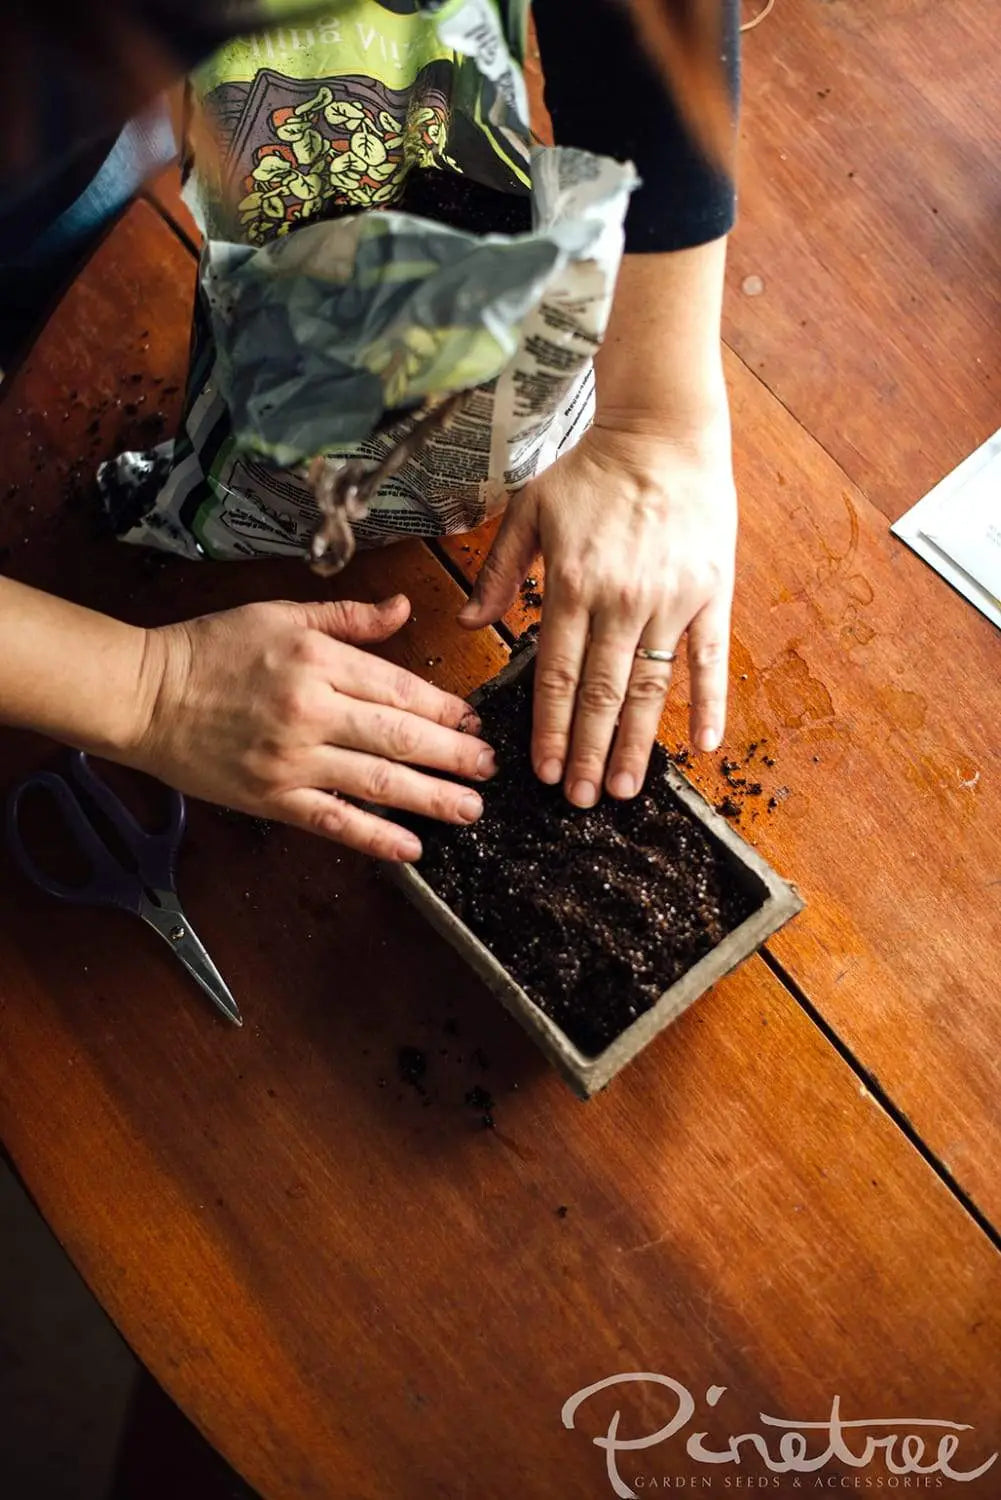
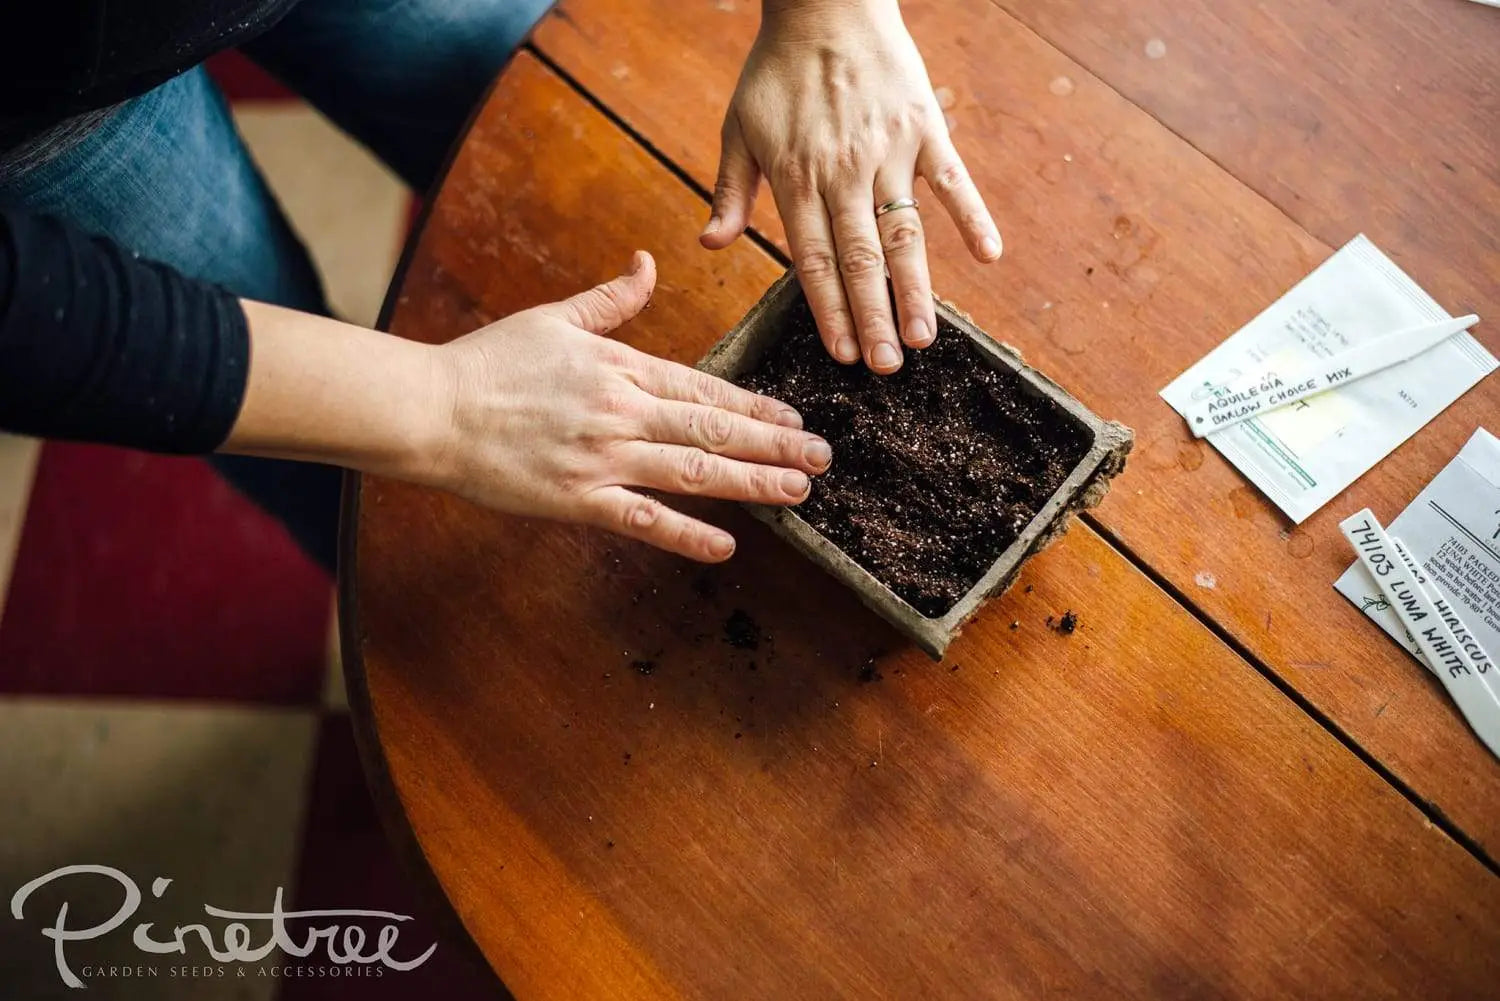
Sow the seed on a pre-moistened seed starting medium (soil-less mix)

-
Place them in a plastic bag and put in refrigerator (most are 40-45 degrees)

-
Time varies depending on the type of seed. Anywhere from a few weeks to a couple of months.
-
Then sow seeds indoors under provided light, or just keep them in the container you stratified them in and place them underneath lights.
-
Check once a week to make sure the medium has not dried out.
Didn’t know where to post this, but you people are the greatest! I order from multiple sources (for longer than your business has been around : ), but your seeds are always the most consistent and reliable, and I always check with you first to see if you have the variety I need. Some other things I LOVE about your company the great info, blog, pun filled newsletters, accurate descriptions, inclusion of scientific names, etc. But the absolute most wonderful thing is your seed packets! They are not a big, splashy photo, but plenty of margin space for me to make my own notes on the front of them, and they have days to maturity, germination, temperature and tips, right on the front!!!! No other company includes this info on the front…brilliant!!! Thanks for being awesome, don’t ever change.
Soil, tools, and pots should be sterilized at 180 at Degrees for thirty minutes to prevent damp off. Conditions for germination and damp off are much the same so sterilize.
Hi Kerry,
Check out another blog post we have on seedling trouble:https://www.superseeds.com/blogs/know-your-roots/seedlings-not-growing
Hi Kim – good question!
You do want to strive to keep your soil moist during the germination and seedling stage. We recommend using a spray bottle with room temperature water. That way, the water isn’t too heavy on your tender seedlings. Covering with a plastic dome or saran wrap will help trap humidity as well!
The best book I ever saw on starting seed was Park’s Success With Seed from 1978. I don’t know if it’s still in print, but I still have mine. The color photos were kind of awfully printed, but the information was golden. It gives seed prep, soil temp, time to start, light, depth and etc. of most common (and some not so common) flowers and vegetables. I guess I bought the book a year before Pinetree was started. My advice to anyone just starting to grow from seed is to buy fresh quality seed. Nothing is any worse than to have poor quality seed that don’t properly germinate and miss you planting dates. Pinetree carries an excellent line of seed suitable for colder climates and given the correct starting methods has a high percentage of germination.